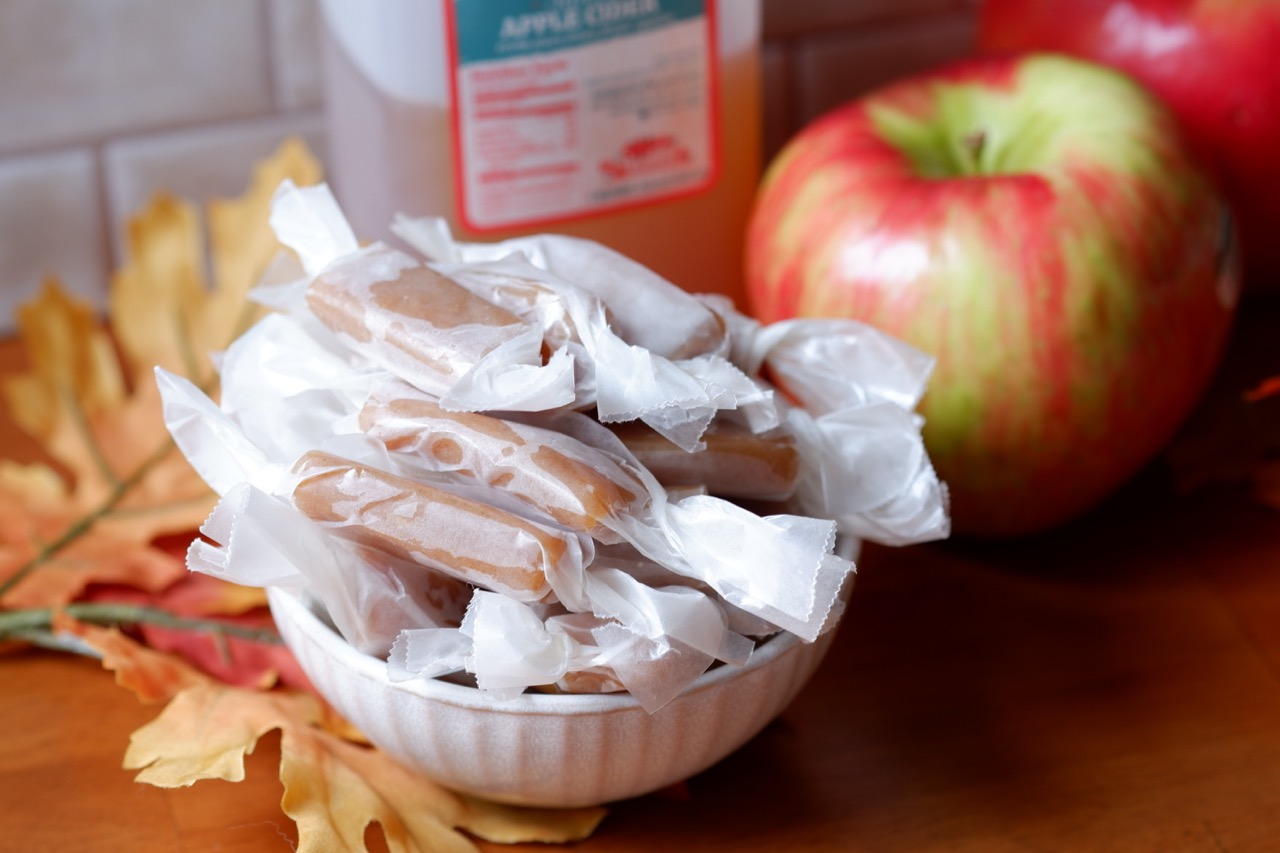
Nothing screams peak autumn quite like walking through the local farmers market and spotting jugs of freshly pressed apple cider. I recently picked up a gallon with the goal of creating a sweet, thoughtful, giftable treat to wrap up for friends and family the next time I saw them. These chewy Apple Cider Caramels are the delicious result.
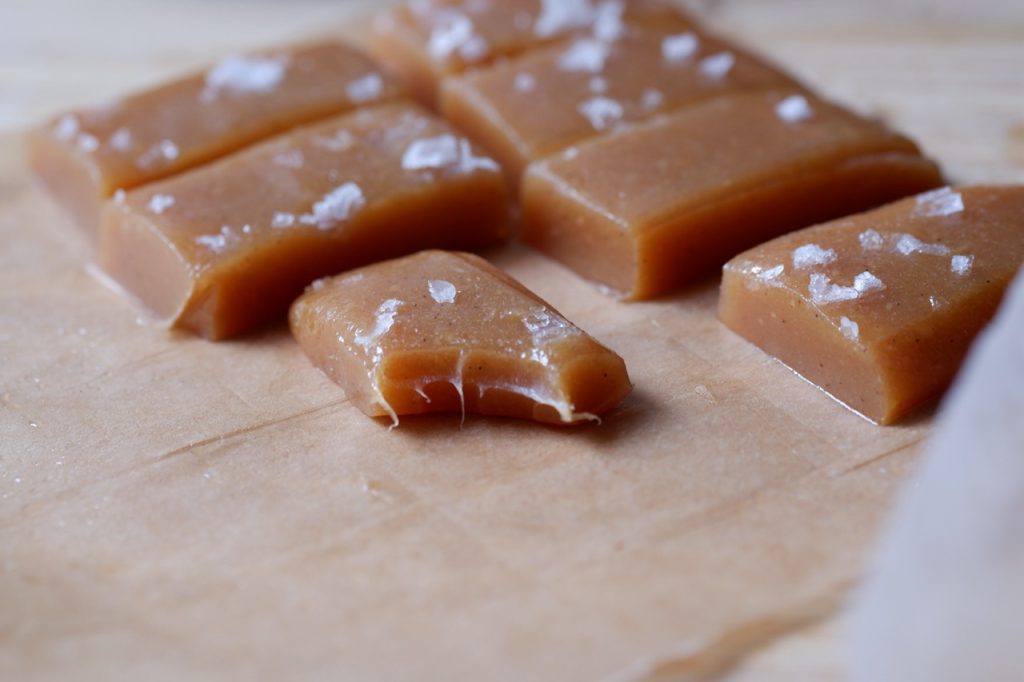
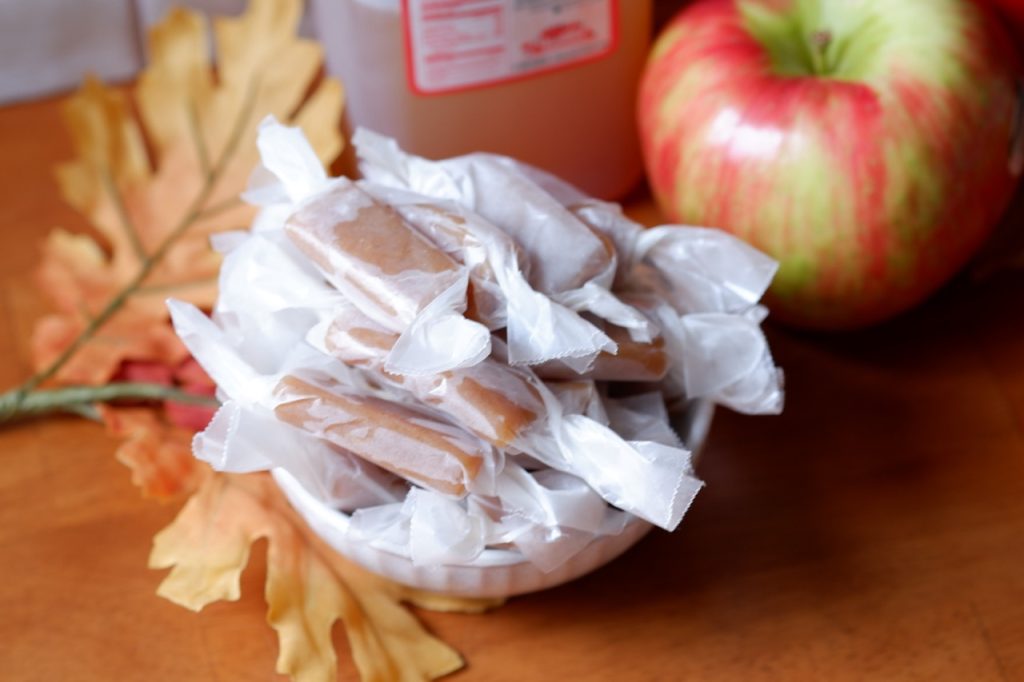
They taste like a bite-sized caramel apple pie. They hit that ideal balance of buttery sweetness with a concentrated hint of tart orchard flavor. We achieve that by slowly simmering real apple cider down to a thick, flavor-packed syrup before blending it with cream, sugars, and butter. Topped with flaky salt and individually twisted in wax paper squares, these candies make the absolute coziest gift for the holidays, dinner parties, or your own secret stash.
Why You Will Love These Apple Cider Caramels
- Real Orchard Flavor. Boiling fresh apple cider down into a concentrated glaze brings out bold, tart fruit notes that cut right through rich caramel.
- Tastes Like Apple Pie. Cozy warm spices pair with buttery brown sugar and aromatic vanilla for all the flavors of fresh pie in a chewy square.
- The Perfect Homemade Gift. Wrapped neatly in rustic wax paper twists, they look gorgeous stacked inside gift boxes, treat bags, or party platters.
- Sweet and Salty Finish. Every piece is crowned with crunchy flaky salt to balance the deep caramel sweetness.
How to Make Apple Cider Caramels
Making candy from scratch might sound intimidating, but it is all about patience and watching the heat.
Start by reducing your fresh cider. Pour two cups of cider into your heavy-bottomed saucepan and bring it to a boil. Let it simmer and boil down for about 45 minutes. You want to reduce it to about 1/4 cup of thick, concentrated cider syrup.
Once your reduction is ready, add the cubed unsalted butter, heavy cream, granulated sugar, packed light brown sugar, vanilla bean paste, and apple pie spice directly into the pan. Stir everything together until combined and bring the mixture to a rolling boil. Clip a candy thermometer to the side of the pot and let the mixture bubble until it registers between 250°F and 252°F tops.
While the caramel cooks, line a standard loaf pan with parchment paper and give it a light mist of neutral cooking spray. I use an avocado oil spray, and wipe away any excess. Once the molten caramel hits the target temperature, pull the pot off the heat immediately and pour the candy straight into your prepared pan.
Let the pan sit in the fridge for 10 minutes to form a gentle skin. Then, evenly sprinkle your flaky salt across the top so it stays on the surface instead of sinking. Return the pan to the fridge for 2 to 3 hours, or let it firm up on the counter at room temperature for 4 to 5 hours.
Once fully set, lift the parchment slab onto a cutting board. Lightly rub neutral oil onto a sharp chef’s knife and slice the caramel into tidy bite-sized rectangles. Wrap each piece in a rectangle of wax paper and twist the ends closed. Store in an airtight container at room temp or in the fridge for longer storage.
Tips and Best Practices
- Watch the reduction. Keep an eye on your cider as it nears the 45-minute mark so it does not scorch. You want a thick, maple-syrup-like consistency that measures roughly 1/4 cup.
- Do not exceed 252°F. Pull the caramel off the heat the second your candy thermometer hits 250°F to 252°F. Cooking beyond this threshold will make the caramels hard and brittle rather than soft and chewy.
- Time the salt topping. Do not sprinkle your flaky salt immediately when you pour the caramel, or the hot candy will dissolve the crystals. Giving it 10 minutes in the fridge first keeps every flake crisp and visible.
- Oil the slicing knife. A quick swipe of neutral oil on your knife blade prevents the sticky caramel from dragging and tearing while slicing.
- Serve at room temperature. Cold caramels right out of the fridge are very chewy. Let them sit on the counter for 15 minutes before unwrapping so they become wonderfully soft and buttery.
People Also Ask (FAQs)
How should I store homemade apple cider caramels? Keep your wrapped caramels in an airtight container at room temperature for about a week, or in the refrigerator for several weeks.
Can I make these without a candy thermometer? A candy thermometer is highly recommended for accuracy, as a couple of degrees makes the difference between a soft chew and hard candy. If you do not have one, you can use the ice water test: drop a spoonful of hot caramel into ice water; it should form a firm, pliable ball that holds its shape. In a pinch, a clean meat thermometer can do the trick.
Why are my caramels too soft or sticky? If the caramels do not hold their shape after chilling, the mixture likely did not reach the full 250°F to 252°F mark before being poured into the pan.
More Sweet Fall Recipes to Try
If you are looking for more cozy, seasonal fall sweets, check out these favorites:
- Baked Apple Cider Donuts: These oven-baked donuts are infused with rich, reduced apple cider and coated in a generous layer of sweet cinnamon sugar. They deliver all the cozy orchard flavors of classic festival cider donuts without the mess of deep-frying.
- Gluten Free Apple Crisp: Tender, warmly spiced sliced apples are baked underneath a golden, buttery rolled oat crumble topping. It is an effortless autumn dessert that pairs deliciously with a big scoop of vanilla ice cream.
- Healthy Pumpkin Spice Banana Bread: Sweet overripe bananas meet pure pumpkin puree and warm fall spices in an ultra-moist quick bread. It makes a nourishing breakfast slice or afternoon sweet treat with zero fuss.
- Pumpkin Pie Bars with Gingersnap Crust: These layered dessert bars combine a spiced, crunchy gingersnap cookie crust with a silky, custard-like pumpkin pie filling. They slice into neat, crowd-pleasing handheld squares ideal for holiday gatherings.
- Pumpkin Spice Rice Cake Muddy Buddies: Crispy rice cakes are crushed and coated in melted white chocolate infused with cozy pumpkin pie spice. It is an addictive, lighter sweet snack mix that comes together completely no-bake in minutes.
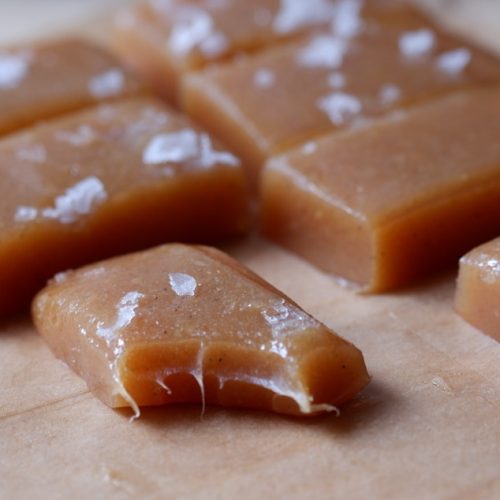
Soft Apple Cider Carmels

Equipment
- Heavy-bottomed saucepan
- Candy thermometer
- 9×5 Loaf Pan
- Parchment paper
- Sharp chef’s knife
- Wax paper
Ingredients
- 2 cups fresh apple cider reduced down to about 1/4 cup of syrup
- 4 tablespoons unsalted butter cut into chunks
- 1/3 cup heavy cream
- 1/2 cup granulated sugar
- 1/4 cup light brown sugar packed
- 1/4 teaspoon vanilla bean paste
- 1/4 teaspoon apple pie spice or ground cinnamon
- 1 teaspoon flaky salt such as Maldon, or less if using fine salt
- Neutral cooking oil for spraying the pan and oiling the knife
Instructions
- Line a loaf pan with parchment paper, leaving some overhang on the sides, and spray lightly with neutral cooking oil.
- Pour the 2 cups of apple cider into a saucepan and bring to a boil over medium heat. Let the cider boil for about 45 minutes, stirring occasionally, until it reduces down to roughly 1/4 cup of thicker, darker syrup.
- Add the butter chunks, heavy cream, granulated sugar, light brown sugar, vanilla bean paste, and apple pie spice into the pan with the reduced cider.
- Stir everything together until combined and return the mixture to a boil.
- Attach a candy thermometer to the side of the pan and cook the boiling caramel until the temperature reaches 250°F to 252°F tops.
- Immediately remove the pan from the heat and pour the caramel into the prepared loaf pan.
- Place the loaf pan into the refrigerator to chill and set for 10 minutes.
- Remove the pan from the fridge and sprinkle the flaky salt evenly over the top surface.
- Return the pan to the refrigerator to set for 2 to 3 hours (or allow it to set at room temperature for 4 to 5 hours).
- Once fully set, lift the caramel slab out of the loaf pan using the parchment paper overhang. Lightly coat a sharp knife with neutral oil and cut the caramel into neat, bite-sized rectangles. Cut sheets of wax paper into rectangles, wrap each caramel tightly inside, and twist the ends to seal.
- Store wrapped caramels in an airtight container at room temperature for about a week or in the refrigerator for a few weeks.
- Allow chilled caramels to sit at room temperature before eating so they become soft and chew easily.