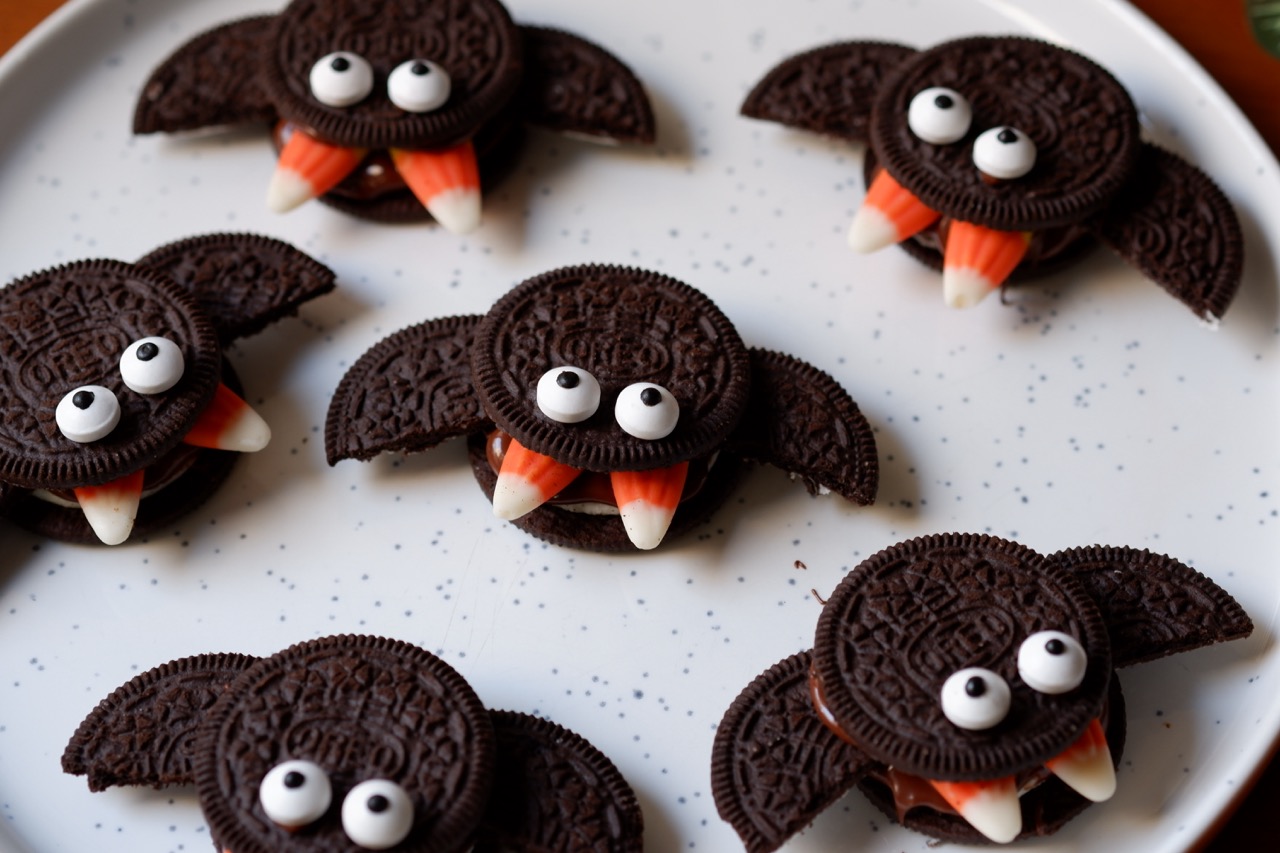
Halloween treats should be heavy on fun and low on kitchen stress. With costume prep, spooky parties, and busy fall schedules, the last thing anyone needs is a messy, multi-hour baking project with thirty separate bowls to clean. I wanted to make a fun Halloween treat that was super quick and easy, and these adorable little Oreo bats check every single box.
They require zero oven time, come together in minutes, and look like something straight out of a specialty bakery window. Using classic Oreos, sweet candy corn fangs, candy eyes, and melted chocolate to lock it all together, you get the ultimate spooky season snack. Whether you need a last-minute classroom party treat, a festive platter for your movie night, or just an easy project to make with kids, these chocolate bats are an absolute crowd-pleaser.
Why You Will Love These Oreo Bats
- Completely No-Bake: You only need a microwave safe bowl to melt your chocolate glue, keeping your oven completely off.
- Quick Assembly Line Treat: Perfect for making a big batch in under twenty minutes without any complicated pastry skills.
- Everyday Pantry Ingredients: Made with just four simple store-bought items: Oreos, melting chocolate, candy corn, and candy eyes.
- Kid-Friendly Kitchen Project: Little hands love placing the candy corn fangs and goofy candy eyes onto the cookies.
How to Make No-Bake Oreo Bats
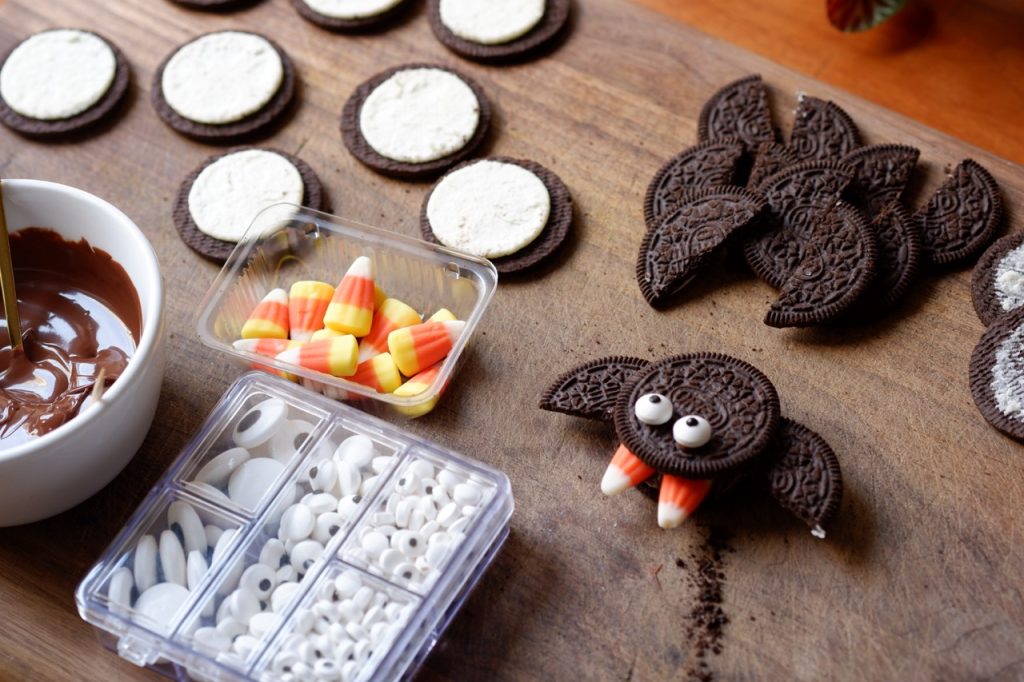
The construction is straightforward once you get an assembly line going. Since each finished bat uses three cookies, start by separating your thirty Oreos.
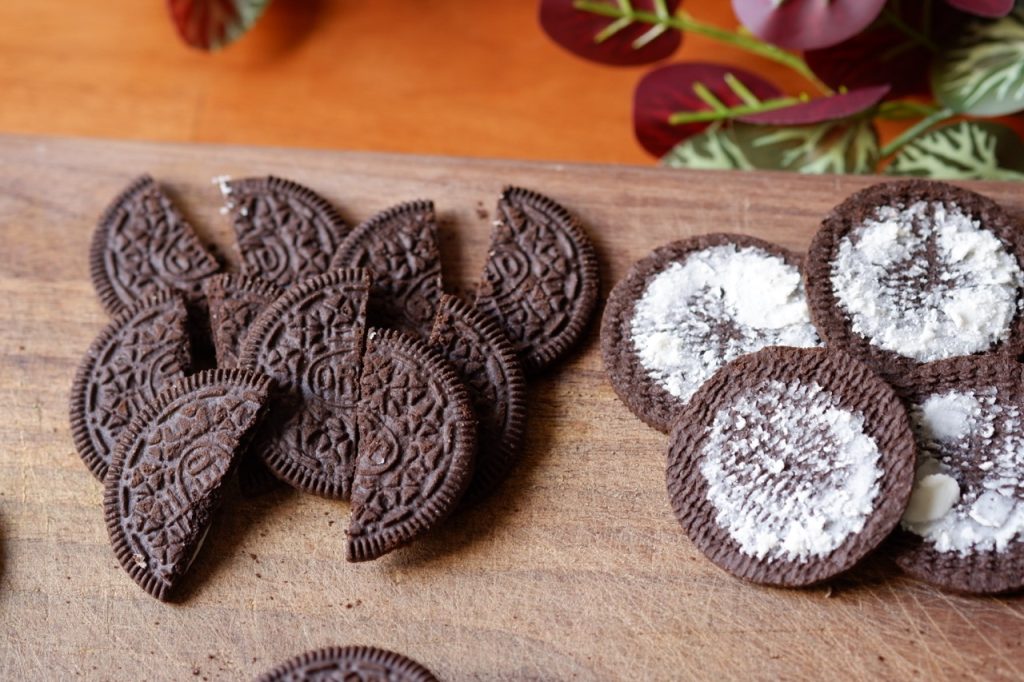
Take ten whole Oreos and gently twist them open. You want the side that keeps all the creme filling on it to lay flat on your cutting board or parchment sheet. Set aside the plain chocolate wafer halves.
Next, grab ten more plain chocolate wafer halves and carefully slice them straight down the center with a sharp knife to create your bat wings. Each cut cookie gives you two semi-circle wings.
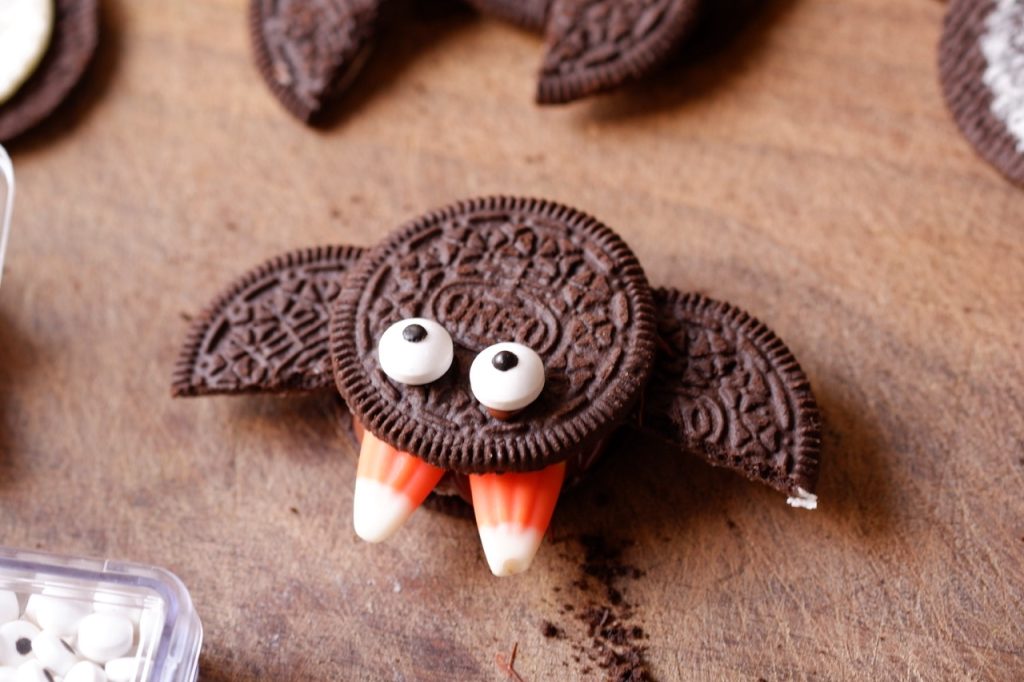
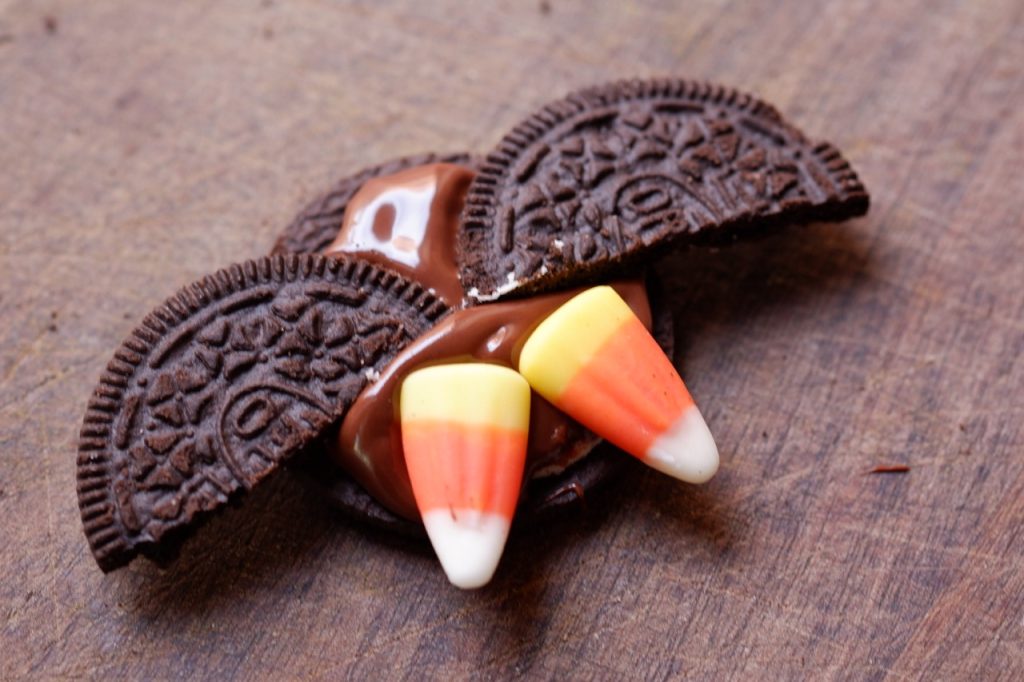
Now assemble the bat body. Spoon a small dab of warm melted chocolate directly onto the creme filling of your base Oreo. Press two cookie wings into the sides so they flare outwards, then place two candy corn pieces pointed downward at the bottom edge to create the fangs.
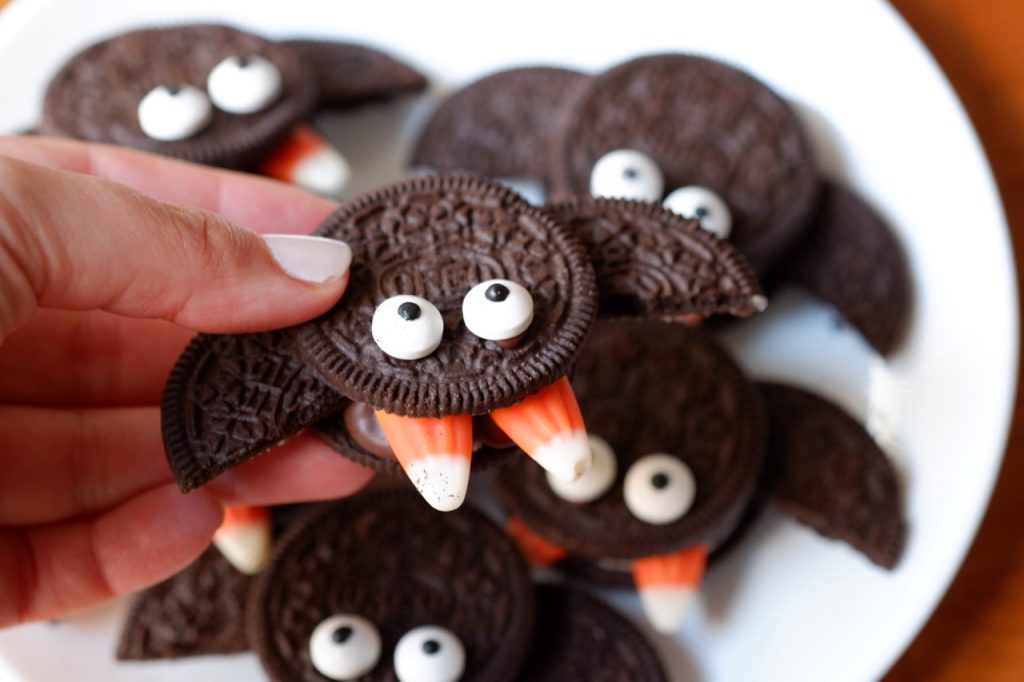
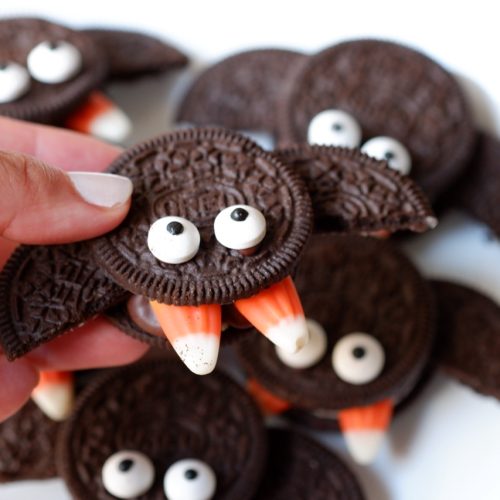
Grab another plain cookie top, spread a little melted chocolate on the underside, and gently sandwich it on top of the wings and fangs to seal the bat together. Finish by dabbing two tiny dots of melted chocolate onto the front of the top cookie and sticking your candy eyes in place. Pop them in the fridge for ten minutes to set the chocolate, and your spooky bats are ready to serve.
Tips and Best Practices
- Use a sharp chef’s knife for the wings: Press straight down in a single firm motion to cut the cookie halves cleanly in two without splintering the chocolate wafers.
- Do not overheat the chocolate: Microwave your chocolate in short 20 to 30 second increments, stirring well after each burst until smooth and glossy.
- Parchment paper makes clean up easy: Build your bats on a baking sheet lined with parchment paper so any stray melted chocolate drips do not stick to your counter.
- Chill to set quickly: While the chocolate will firm up at room temperature, popping the bats into the fridge for 20 minutes locks the wings and fangs firmly in place.
People Also Ask (FAQs)
Can I use Double Stuf Oreos for this recipe? Yes, Double Stuf Oreos work great. The extra creme layer gives you a slightly thicker base to anchor the cookie wings and candy corn fangs.
Can I make these gluten-free? You bet. Simply swap out standard Oreos for certified Gluten-Free Oreos. The candy corn, chocolate chips, and candy eyes are generally gluten-free, but always double-check your ingredient packaging.
How should I store these Oreo bats? Store your finished bats in an airtight container at cool room temperature for up to one week. If your kitchen runs warm, keep them in the refrigerator so the chocolate seal remains firm.
Can I use candy melts instead of melted chocolate chips? Yes, dark chocolate candy melts work just as well as standard melted chocolate chips.
More Recipes
- Pumpkin Spice Rice Cake Muddy Buddies: A lighter fall twist on muddy buddies with cozy pumpkin spice flavor and the perfect crunch from cinnamon rice cakes.
- Healthy Twix Bites: These easy-to-make, gluten-free bites give you a healthier, no-bake homemade spin on a childhood classic candy bar.
- Chocolate Peanut Butter Monster Cookies: Rich, cakey chocolate cookies loaded with peanut butter chips and festive candy eyes without using any butter.
No-Bake Oreo Bats

Equipment
- Sharp Knife
- Parchment paper
Ingredients
- 30 Oreo cookies
- 1/2 cup chocolate chips or melting chocolate
- 20 candy corn pieces
- 20 candy eyes
Instructions
- Place the chocolate into a small microwave-safe bowl and heat in 30-second increments, stirring between each interval, until completely melted and smooth.
- Line a large cutting board or baking sheet with parchment paper.
- Carefully twist open 10 of the Oreos, keeping the creme filling intact on one cookie half and setting the plain halves aside. Place the 10 creme-topped halves onto your parchment paper with the creme facing up.
- Take 10 plain cookie wafer halves and use a sharp knife to cut each one directly in half to yield 20 bat wing pieces.
- Spoon a small dab of melted chocolate onto the center of each creme-topped cookie base. Press two wing pieces into the melted chocolate on each cookie base, pointing the curved edges outward to form the wings.
- Press two candy corn pieces into the bottom edge of each cookie base with the white tips pointing down to make the fangs.
- Take 10 remaining plain Oreo cookie halves, brush a small amount of melted chocolate on their undersides, and gently press one on top of each bat assembly to seal the cookie sandwich.
- Dab two tiny dots of melted chocolate onto the front of each top cookie wafer. Affix two candy eyes onto the wet chocolate dots on each bat.
- Let the bats rest at room temperature or place them in the refrigerator for 20-30 minutes to allow the melted chocolate to fully set and firm up before serving.