If you follow along with my kitchen experiments over on Instagram, then you already know about my ongoing series where I ask the ultimate question: “Can it Krispie?” Basically, I take my absolute favorite desserts and classic flavor profiles and see if they can handle being transformed into gooey, marshmallowy krispie treats. We have tackled some amazing flavors so far, but I knew deep down that a southern classic was calling my name.
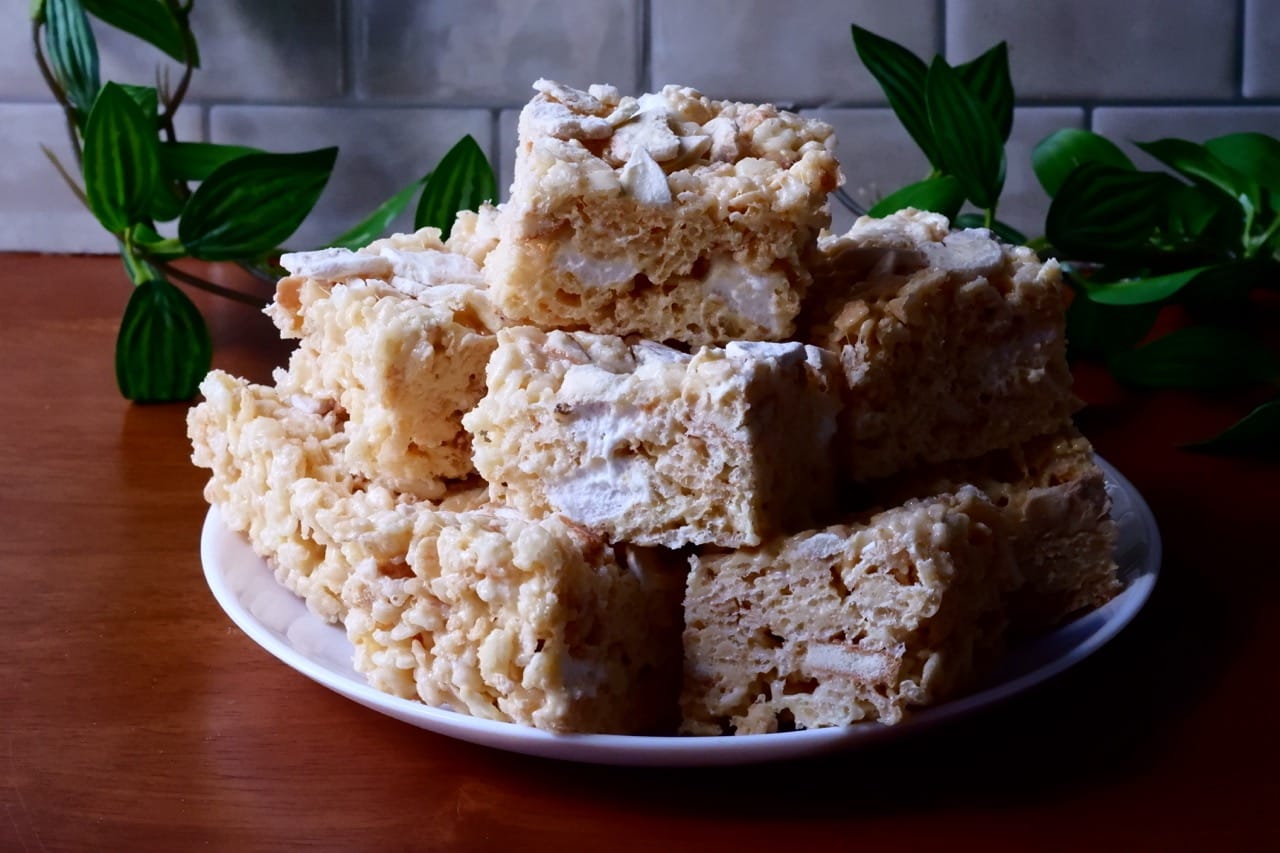
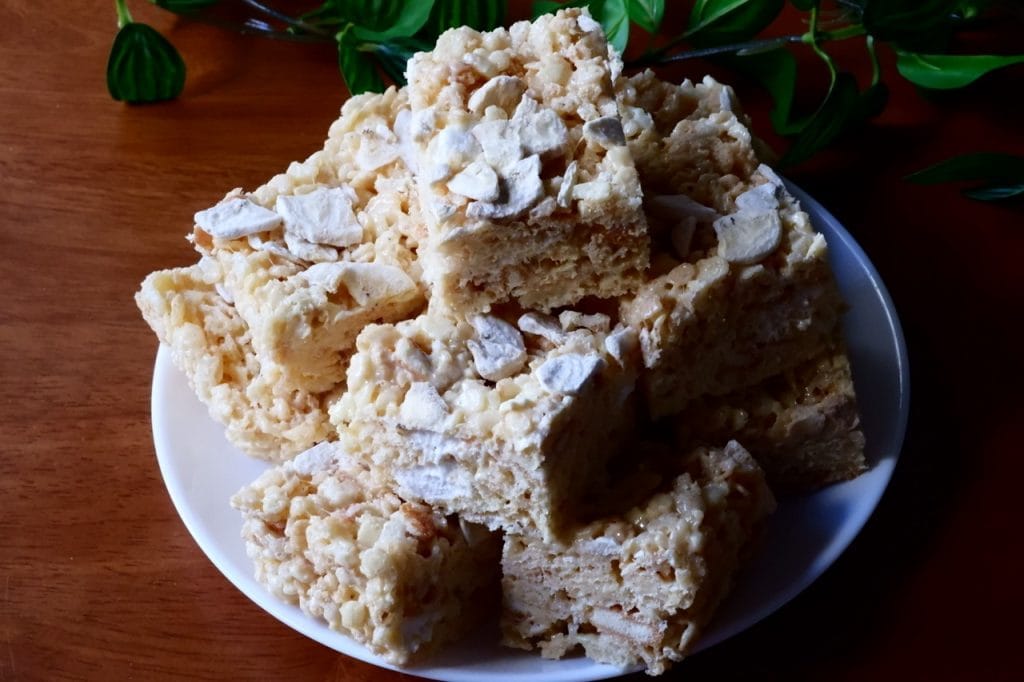
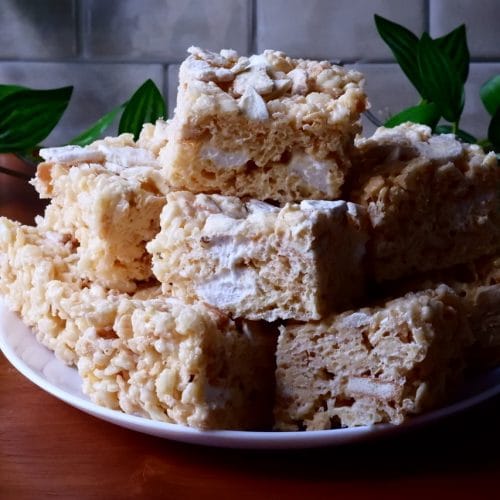
These Banana Pudding Rice Krispie Treats are the absolute definition of a dessert mashup masterpiece. We are pulling in all of those iconic, nostalgic banana and vanilla flavors from a traditional banana pudding and pairing them with the irresistible, crunchy-chewy texture of a perfect crispy rice treat. By infusing the marshmallow base with instant pudding mix and folding in plenty of crunchy mini Nilla wafers, you get that authentic bakery taste with zero actual baking required.
How to Make Banana Pudding Rice Krispie Treats
Whipping up this no-bake dessert is incredibly simple, but the trick is keeping your assembly moving before that sticky marshmallow cloud begins to set. Start by melting your butter in a saucepan over low heat. Once completely liquid, slide in your mini marshmallows and stir continuously until they completely melt down into a smooth, pillowy mixture. Turn off the heat completely before adding your vanilla bean paste and the banana cream instant pudding mix. Stir vigorously until the pudding powder is completely integrated and the marshmallow mixture is beautifully smooth and fragrant.
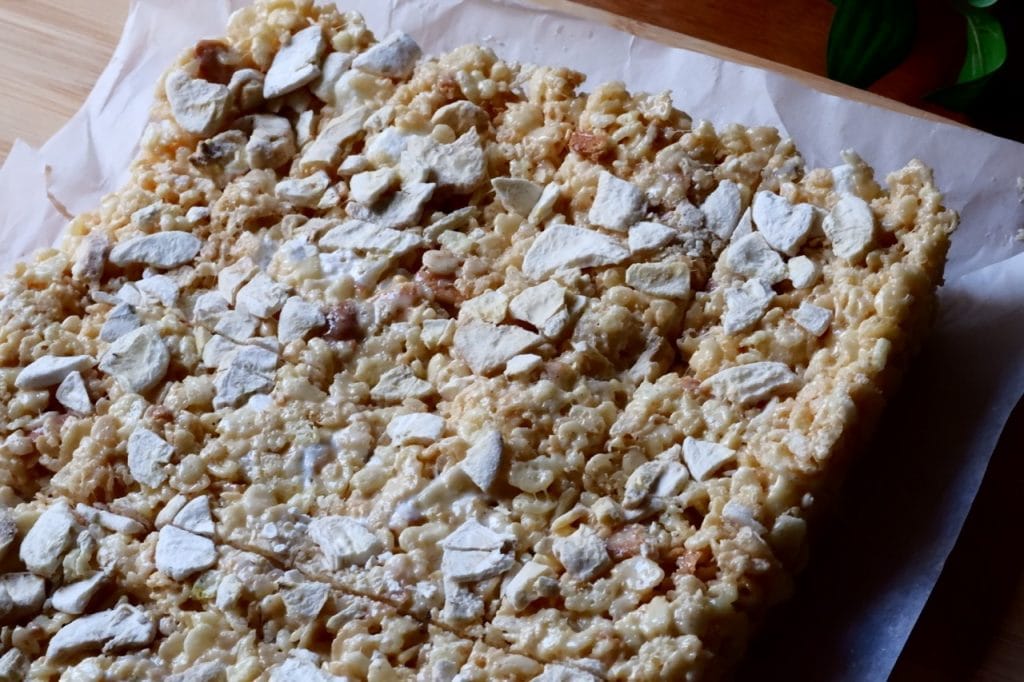
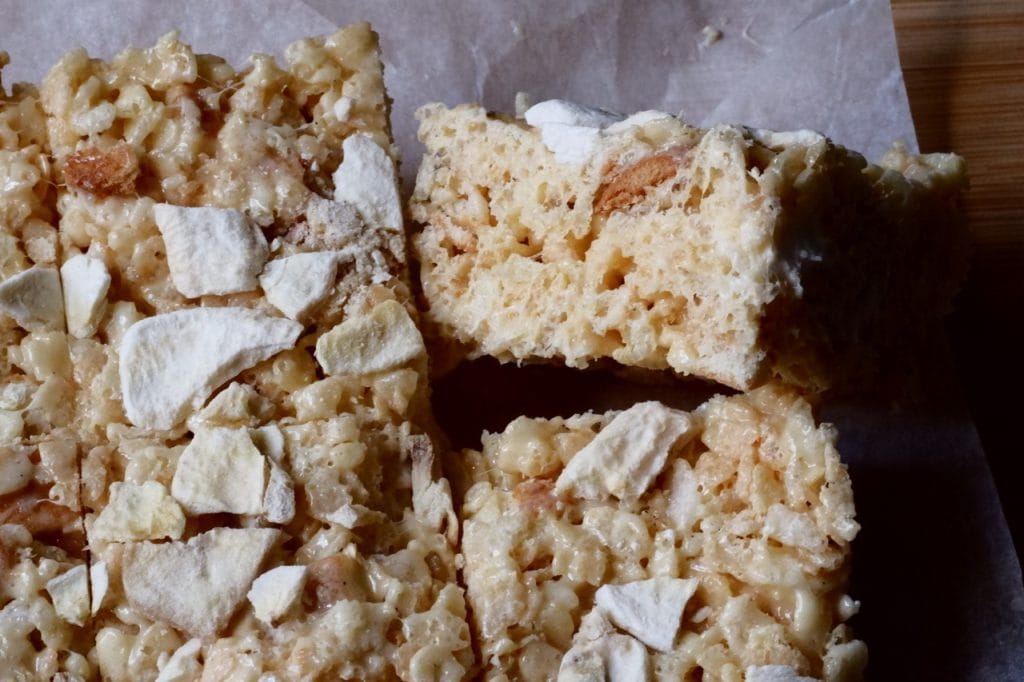
In a large separate mixing bowl, combine your crispy rice cereal and chopped Nilla wafers. Toss in an extra handful of whole mini marshmallows right into the cereal mix for those premium, gooey pockets throughout the final bars. Pour your warm, pudding-infused marshmallow mixture directly over the cereal base and stir thoroughly until everything is completely coated. Quickly work to transfer the sticky mixture into a parchment-lined 8×8 pan, press it down into an even layer, and top it off with plenty of crunchy banana chips or freeze-dried banana pieces. Let them sit on the counter to solidify completely before slicing.
Tips, Tricks, and Variations
- Go easy on the packing: When transferring your cereal mix into the 8×8 pan, use a greased spatula or damp hands to press the mixture down gently. If you pack it down too aggressively, the treats will lose their airy texture and become too dense and hard to chew.
- Switch up the banana toppings: Freeze-dried banana pieces add a wonderful, intense fruit flavor and a nice airy crunch, while traditional dehydrated banana chips provide a hard, satisfying bite. Choose whichever match fits your texture preferences.
- The fresh banana warning: Avoid using fresh banana slices on top if you plan on storing these for more than a few hours. Fresh banana will oxidize, turn brown, and make the surrounding cereal soggy. Stick to dried banana variants for optimal shelf life.
- Pudding mix precision: Make sure you are using instant pudding mix, not the cook-and-serve kind. The instant powder dissolves flawlessly into the warm marshmallow fats without needing extra liquid.
People Also Ask (FAQs)
Can I use regular vanilla pudding mix instead of banana cream? Yes, you absolutely can. If you want a more subtle banana flavor that leans heavily into the Nilla wafer and vanilla bean vibes, using vanilla instant pudding mix works beautifully. The treats will still taste like a classic pudding dessert, but then I would definitely recommend adding the dried bananas on top.
How do I store these treats to keep them soft? Keep your cut squares stored in an airtight container at room temperature. To prevent them from sticking together, place a small sheet of parchment paper between the layers. They will stay perfectly fresh and chewy for up to 4 days.
Are these banana krispie treats gluten-free? Traditional Rice Krispies cereal and Nilla wafers both contain gluten. However, you can easily make this recipe gluten-free by swapping in a certified gluten-free crispy rice cereal and using your favorite brand of gluten-free vanilla wafer cookies.
Can I use a larger baking pan for this recipe? This specific ingredient ratio is perfectly measured to create thick, bakery-style squares in an 8×8 pan. If you swap to a 9×13 pan, your treats will turn out much thinner, so you might want to increase the ingredients by half to maintain that thick, chewy bite.
More Rice Krispie Recipes to Try
If you love these creative, gooey squares, make sure to check out the other successful experiments from my “Can it Krispie?” series:
- Cookies and Cream Rice Krispie Treats
- Piña Colada Rice Krispie Treats
- Mango Sticky Rice Krispie Treats
- Chocolate Strawberry Rice Krispie Treats
- The Best Peanut Butter and Jelly Rice Krispie Treats
- Healthy No-Churn S’mores Rice Krispie Treats
Banana Pudding Rice Krispie Treats

Equipment
- Saucepan
- Stovetop
- 8×8 Pan
Ingredients
- 4 cups rice cereal
- 1 cup Nilla wafers chopped
- 1/4 cup banana chips chopped for topping
- 10 oz mini marshmallows reserve a small handful for folding in
- 4 tbsp butter
- 4.5 tbsp banana cream instant pudding mix roughly 2/3 of a standard package
- 1/2 tsp vanilla bean paste
- Pinch of salt
Instructions
- Line an 8×8 pan with parchment paper and set it aside for later assembly.
- In a large saucepan, melt the four tablespoons of butter over medium-low heat until it is completely liquid. Add the 10 ounces of mini marshmallows directly to the pan and stir continuously over low heat until they are fully melted, smooth, and fluffy. Turn off the heat source completely. Immediately stir in the vanilla bean paste, a pinch of salt, and the banana cream instant pudding mix, whisking gently until the powder is fully dissolved and the marshmallow base is completely smooth.
- In a separate large mixing bowl, combine the crispy rice cereal, the cup of chopped Nilla wafers, and an extra handful of whole mini marshmallows. Pour the warm, smooth banana marshmallow mixture over the cereal components. Use a greased spatula to quickly stir and fold the mixture together until every piece of cereal and cookie is evenly and thoroughly coated.
- Working quickly before the marshmallow sets, transfer the sticky mixture into your prepared 8×8 pan. Use the spatula or lightly damp hands to press the mixture gently but firmly into an even, level layer across the pan. Scatter your chopped banana chips evenly across the top surface, pressing them lightly down into the marshmallow so they stick securely.
- Allow the treats to sit undisturbed at room temperature for at least one to two hours until they are completely solidified and cooled. Use the parchment paper to lift the block out of the pan, slice into 16 even squares, and serve immediately.