Generally speaking, if rice krispie treats are anywhere in the room, I am absolutely going for one. They are easily one of my all-time favorite desserts because that gooey, marshmallowy crunch just never gets old. Lately, I’ve been on a major kick of turning my favorite classic treats into fun new rice krispie flavors.
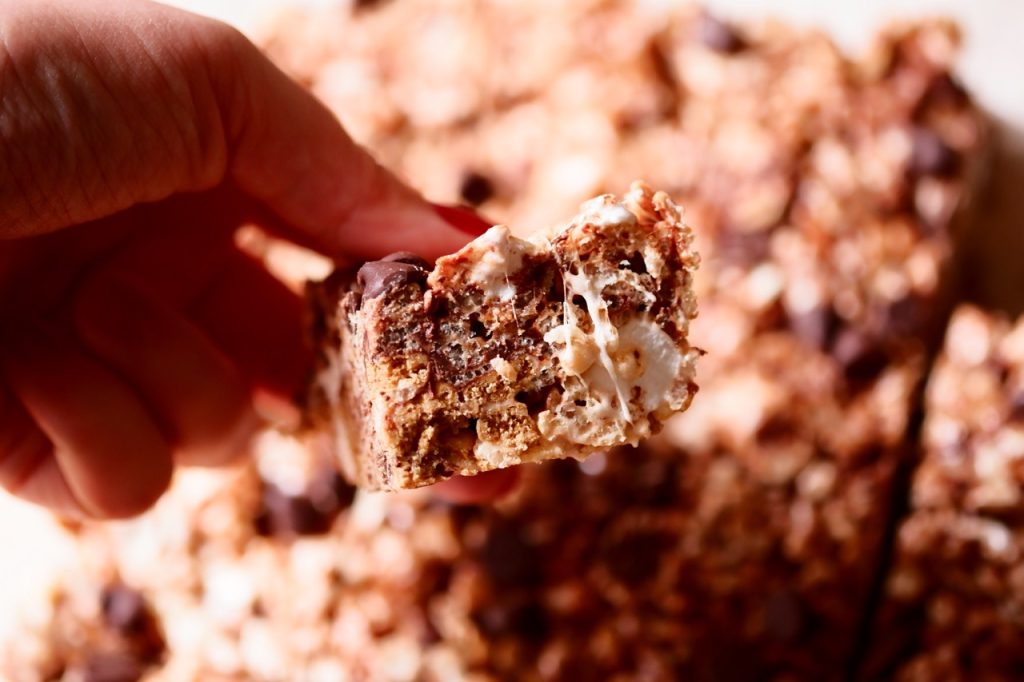
Since s’mores hold a permanent spot in my heart as one of my absolute favorite summer treats, I knew I had to bring that campfire magic into the mix. The combo of rich chocolate, crunchy graham crackers, and sticky marshmallow is a literal match made in heaven. Let me tell y’all, this recipe DELIVERS. You get an airy, crispy, ultra-gooey bar that tastes exactly like sitting around a summer bonfire, but without any of the smoky clothes.
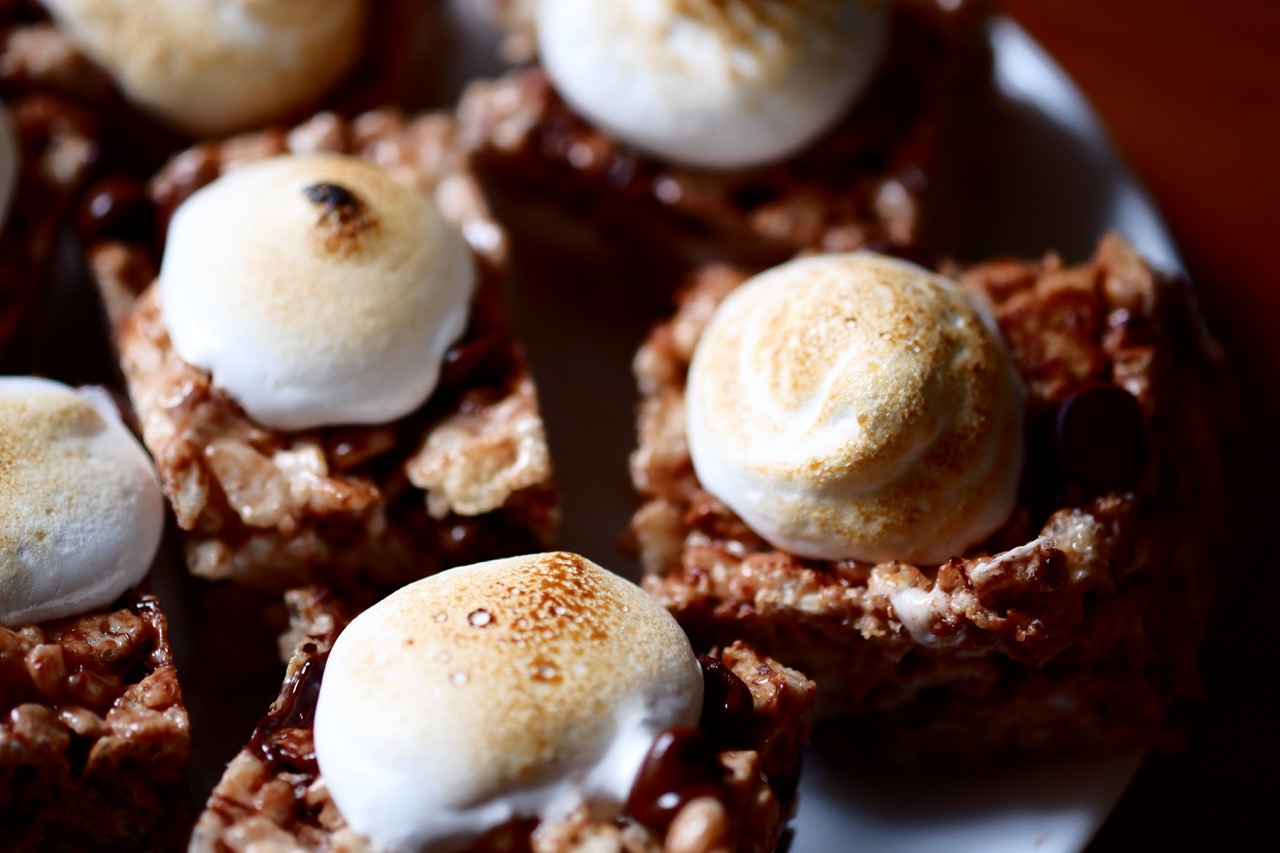
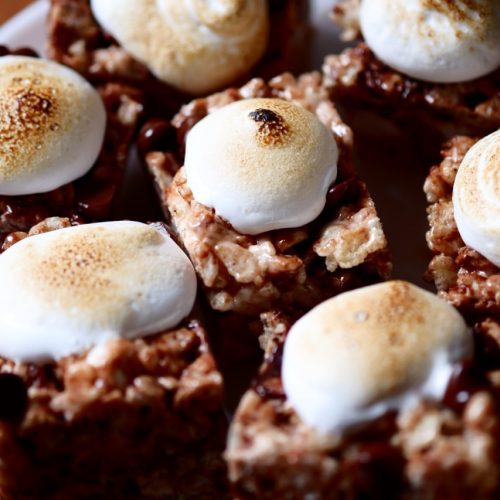
To give them that real authentic campfire taste, I took things a step further and added extra marshmallow fluff on top, then torched it with a kitchen torch. It gives it that perfect, beautifully charred finish that elevates these from a standard childhood snack to an absolute showstopper dessert. I can’t wait for you to try them!
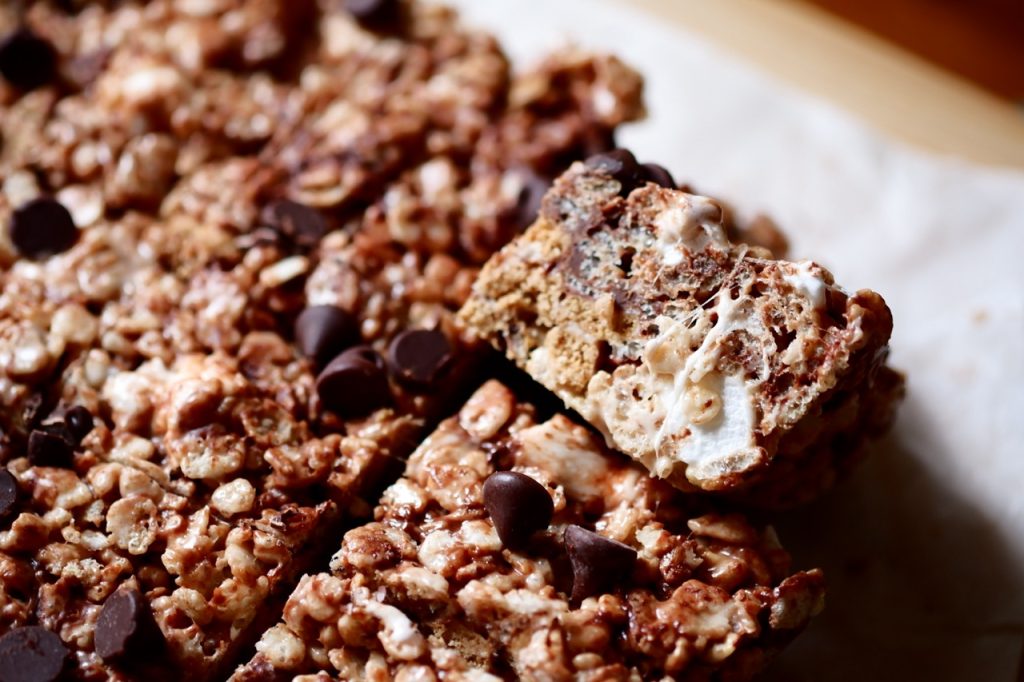
How to Make S’mores Rice Krispie Treats
The process for these treats is super simple and comes together completely no-bake in just a few minutes. You’ll start by lining an 8×8 pan with parchment paper and prepping your dry mix. In a large bowl, toss together your crispy rice cereal, chopped graham crackers, chocolate chips, and some extra mini marshmallows. To keep these totally gluten free, I use a gluten free graham cracker (I like these).
Next comes the marshmallow base. You’ll melt your butter in a large pot over medium-low heat, then drop in your mini marshmallows. Make sure to stir them consistently so they transform into a smooth, gooey cloud without scorching. Turn off the heat and stir in the vanilla bean paste—this adds those gorgeous little black specks and a much deeper flavor profile.
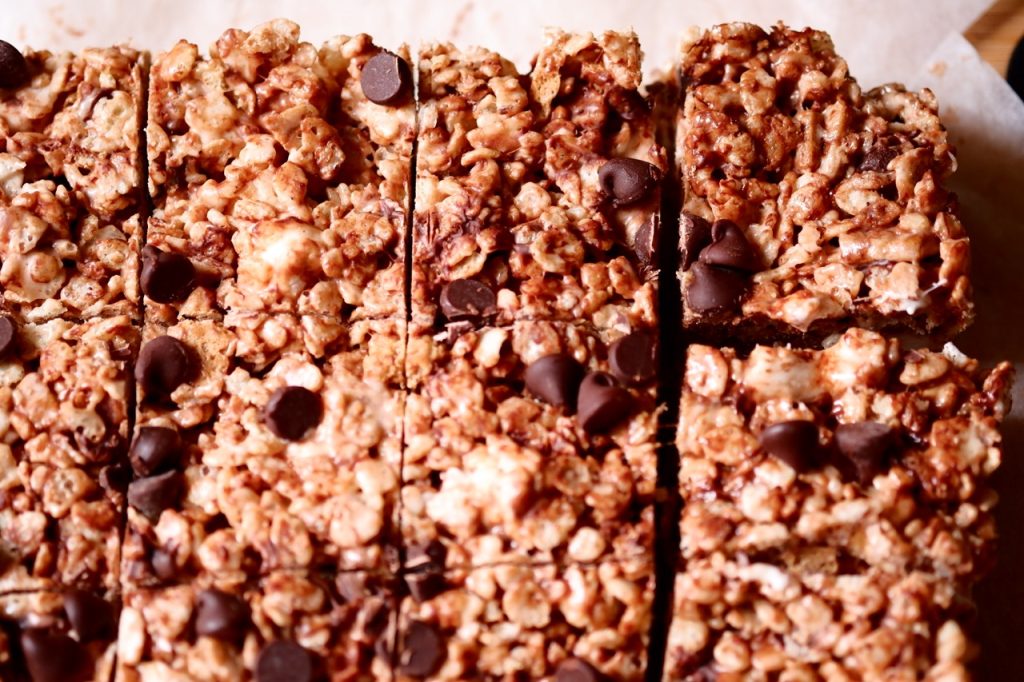
Working quickly, pour that warm, melted marshmallow mixture right over your cereal mix and gently fold everything together until every single piece is beautifully coated. Transfer the sticky mixture into your prepared pan, press it down lightly, and scatter a few extra chocolate chips on top while it’s still warm so they press right in. Let them cool down, slice them up, and then go wild with the marshmallow fluff and a kitchen torch right before serving! If you don’t plan to eat them right away, I’d wait on the fluff portion – it has a tendency to run!
Tips, Tricks, and Variations
- Don’t pack them too tightly: When pressing the mixture into your 8×8 pan, use a gentle touch. Packing the cereal down too hard will crush the air pockets and make the treats dense instead of light and crispy.
- Grease your spatula: Marshmallow is incredibly sticky. Spray your spatula or your hands with a little bit of nonstick cooking spray before pressing the mixture into the pan to save yourself a massive sticky mess.
- Torch right before serving: If you plan to add the marshmallow fluff and brulee it, I highly recommend doing it right before serving. If you try to store them with the torched fluff, it will potentially melt and run off over time.
- Keep the heat low: Melt your marshmallows over medium-low heat. Trying to rush the process on high heat will scorch the sugars and leave you with rock-hard treats instead of gooey ones.
People Also Ask (FAQs)
Can I make these gluten-free? Absolutely! Just make sure to swap the traditional graham crackers for your favorite certified gluten-free graham cracker brand. The crispy rice cereal and marshmallows are usually naturally gluten-free, but always double-check your labels.
What if I don’t have a kitchen torch? If you don’t have a kitchen torch, you can still enjoy these! The fluff will be wonderfully gooey and sweet even without being toasted. Alternatively, you can pop the sliced treats under your oven’s broiler for a very brief minute, but keep a super close eye on them so the treats don’t melt down completely.
How should I store these? Keep your sliced treats (without the fluff topping) in an airtight container at room temperature for up to 4 to 5 days. Do not store them in the fridge long-term, as the cold temperature will cause the marshmallows to harden up.
More No Bake Treat Ideas
I’m all about easy no-bake treats- here are some of my favorites that I think you should try!
- Rice Cake Muddy Buddies
- Dubai Chocolate Rice Krispie Treats
- Protein Cookie Dough Stuffed Dates
- High Protein Dirt Dip (Healthy Dirt and Worms Dessert)
- Brown Butter Rice Krispie Treats
- Trail Krispie Treats
S’mores Rice Krispie Treats

Equipment
- Mixing Bowls
- 8×8 Pan
- Stove Top
- Saucepan
Ingredients
- 4 tbsp butter 1/2 stick
- 10 oz mini marshmallows plus an extra handful for the dry mix
- 1 tsp vanilla bean paste
- 4 cups crispy rice cereal
- 1 cup graham crackers chopped
- 1/2 cup chocolate chips plus extra for topping
- 16 tbsp marshmallow fluff optional for topping, 1 tbsp per treat
Instructions
- Line an 8×8-inch baking pan with parchment paper and set it aside.
- Chop your graham crackers into bite-sized pieces.
- In a large mixing bowl, combine the crispy rice cereal, chopped graham crackers, chocolate chips, and an extra handful of mini marshmallows, tossing them together to mix evenly.
- In a separate large pot or saucepan, melt the butter over medium-low heat until it is completely liquid. Add the 10 oz of mini marshmallows to the pot and stir continuously over medium-low heat until they are completely melted, smooth, and fluffy.
- Remove the pot from the heat and immediately stir in the vanilla bean paste until fully incorporated. Working fast, pour the warm melted marshmallow mixture over your cereal and chocolate mix.
- Use a greased spatula to gently fold the ingredients together until everything is evenly coated in the sticky marshmallow mixture. Transfer the mixture into your prepared 8×8 pan and press it down lightly into an even layer without packing it down too firmly.
- Scatter a handful of extra chocolate chips across the top while the treats are still slightly warm, pressing them gently so they stick to the surface.
- Allow the treats to sit and cool at room temperature for 2 hours, or speed things up by placing the pan in the fridge for 40 minutes. Slice the set treats into 16 even squares.
- If you are adding the optional topping, spoon or pipe 1 tablespoon of marshmallow fluff onto each individual treat just before serving. Use a kitchen torch to carefully brulee the fluff until it is golden brown and toasted, then enjoy immediately.
- Store any remaining untopped treats in an airtight container at room temperature.