 Is there a more elite combination of flavors than peanut butter and jelly? If so, I’m yet to find it. Creamy, rich peanut butter plus sweet, slightly tart jam is, quite literally, my jam, so I’m always looking for new ways to use that flavor combination. That’s how my PB&J Bars were born, and now I’m proud to introduce my latest PB&J-related brainchild: PB&J Mini Buns.
Similar to my Funfetti Mini Buns and Nutella Oreo Mini Buns, these beauties start out with magical two ingredient dough, which is higher in protein, lower in fat/calories, and super versatile.
Creating the Buns
Make these little buns is as easy as mix, roll, fill, roll again, cut, and bake. That’s right – no kneading, no rise time, just quick, easy deliciousness that you can have on the table in under an hour.
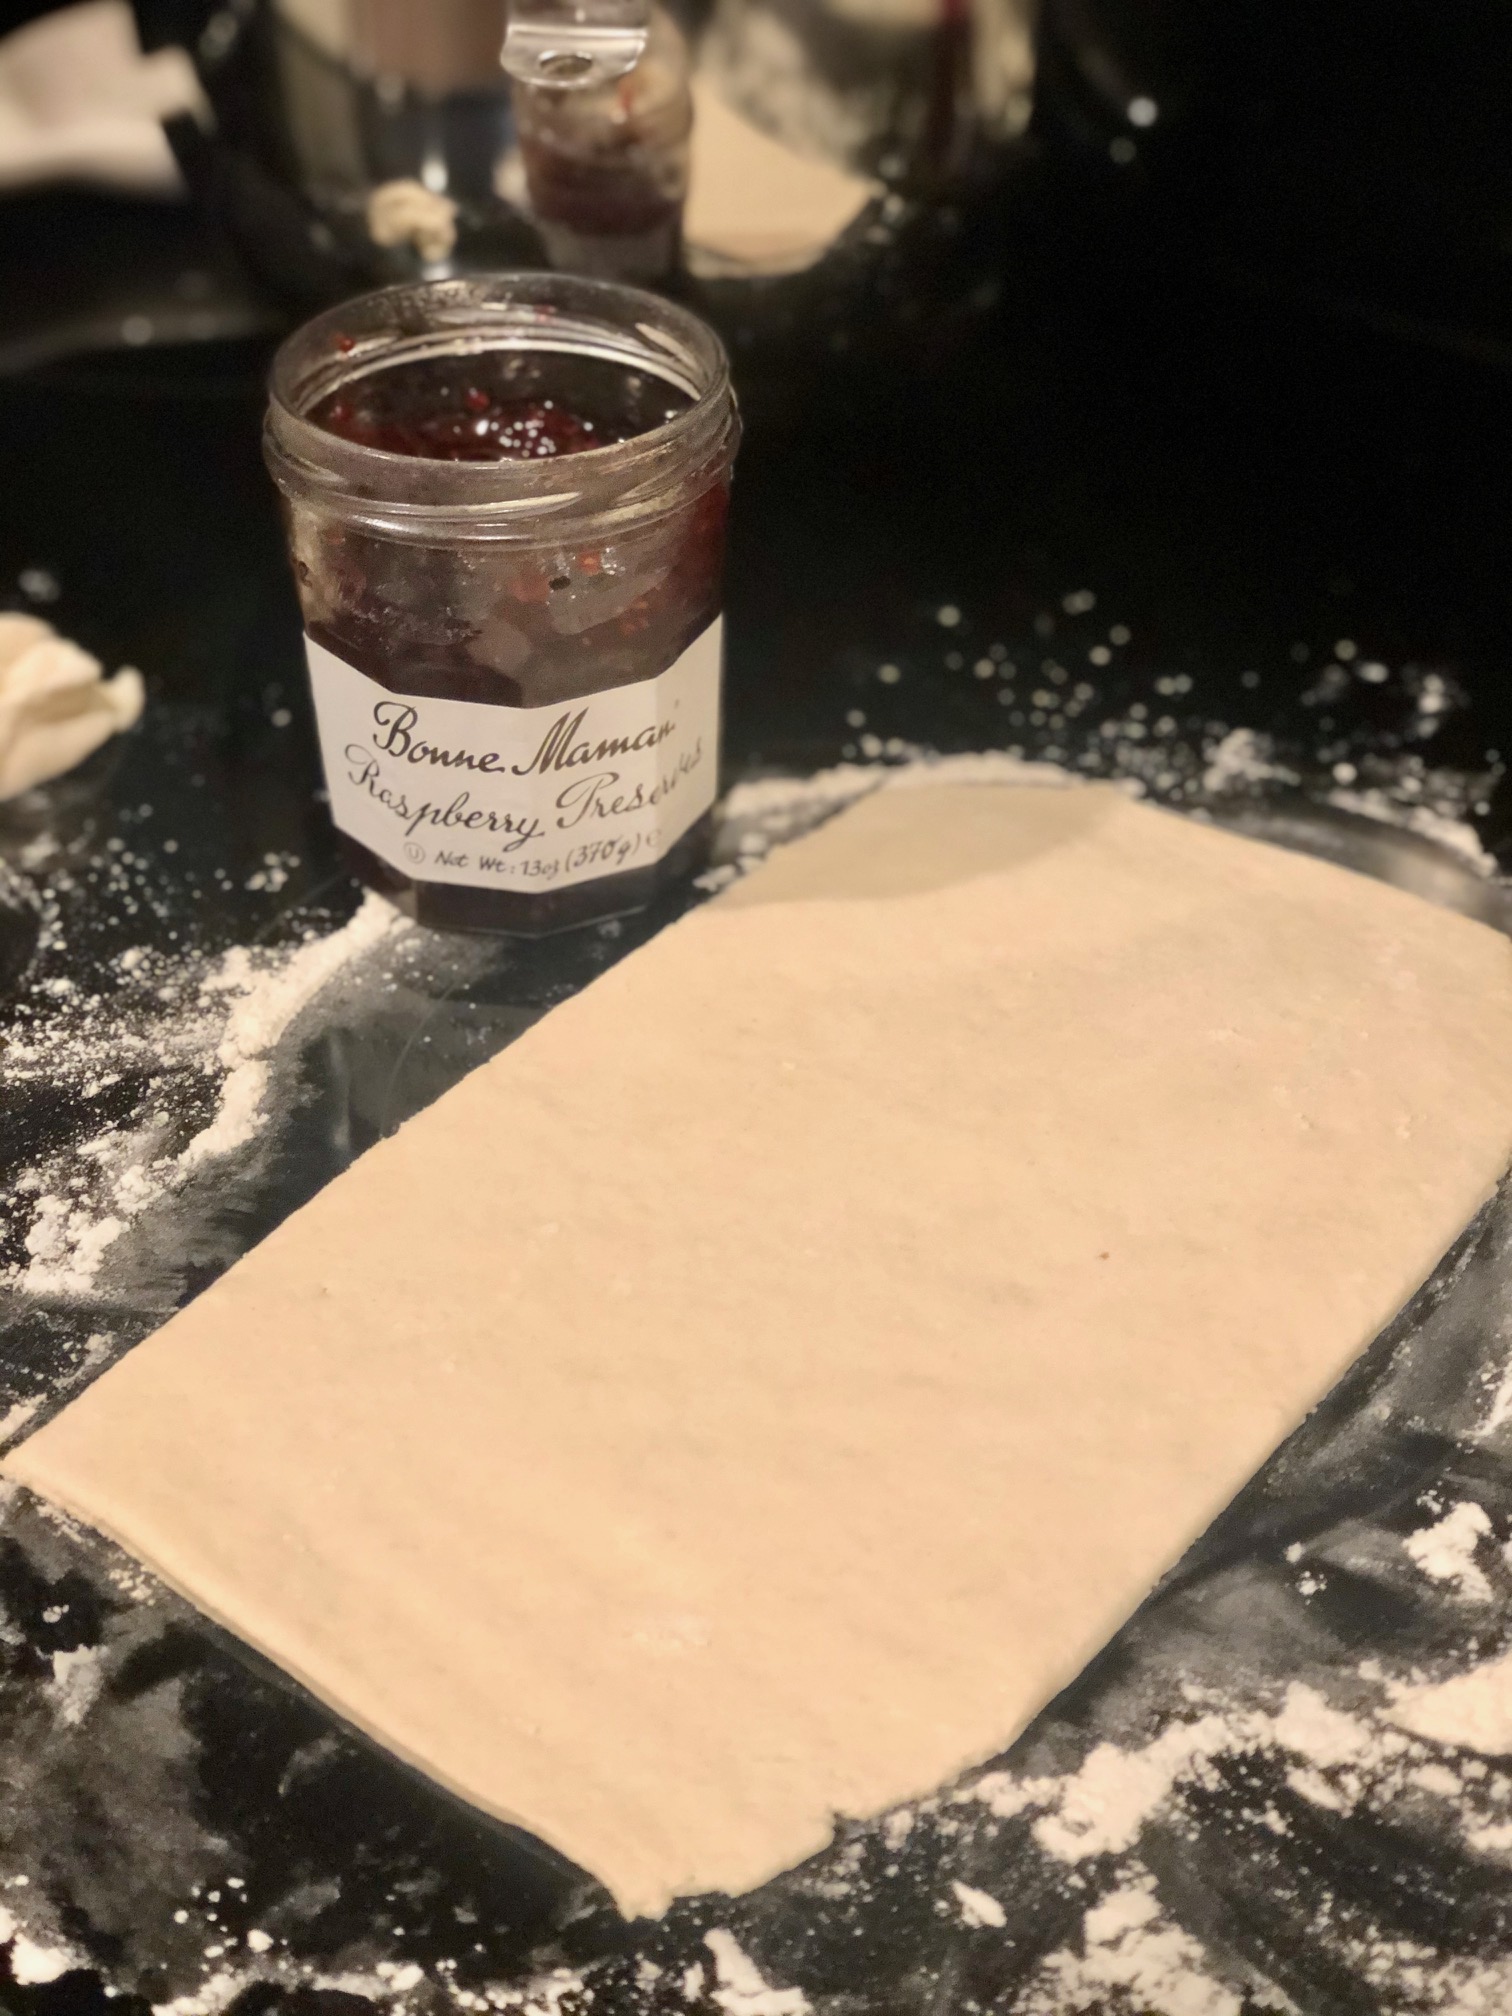 Start by combining your dough ingredients and rolling the dough out to a roughly rectangular shape that’s about 1/4-1/2 inch thick. Make sure to flour your surface and your rolling pin, as this dough is pretty sticky.
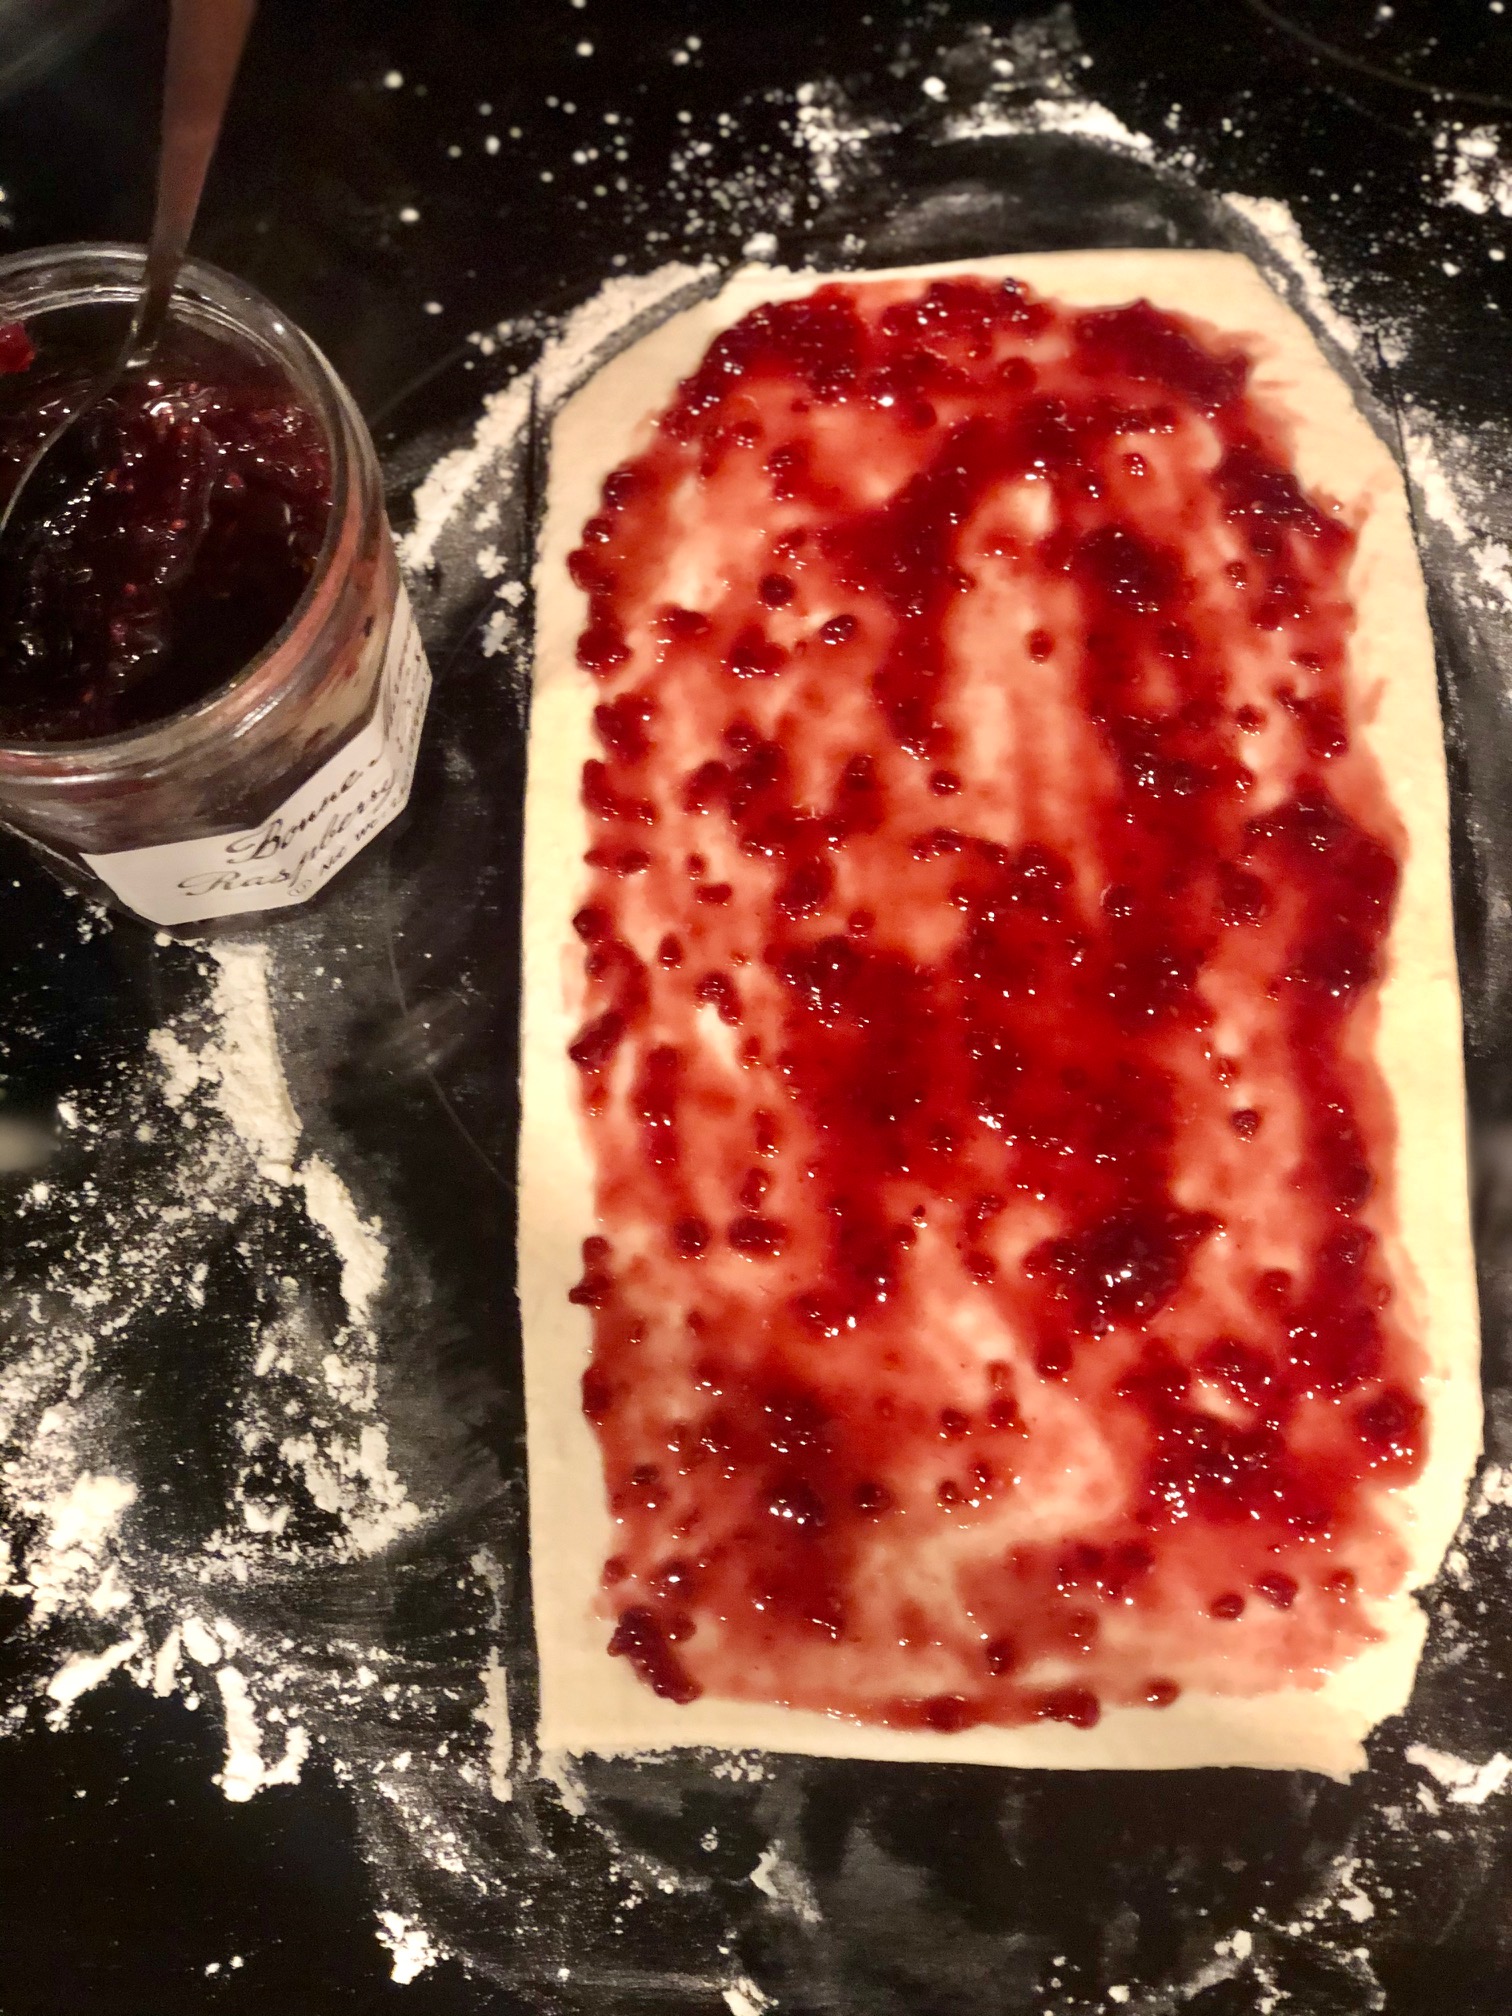 Next, you’ll want to spread your jam of choice on the flattened dough, leaving about 1/4 inch on each side so that the jam has some room to spread once you roll it up.
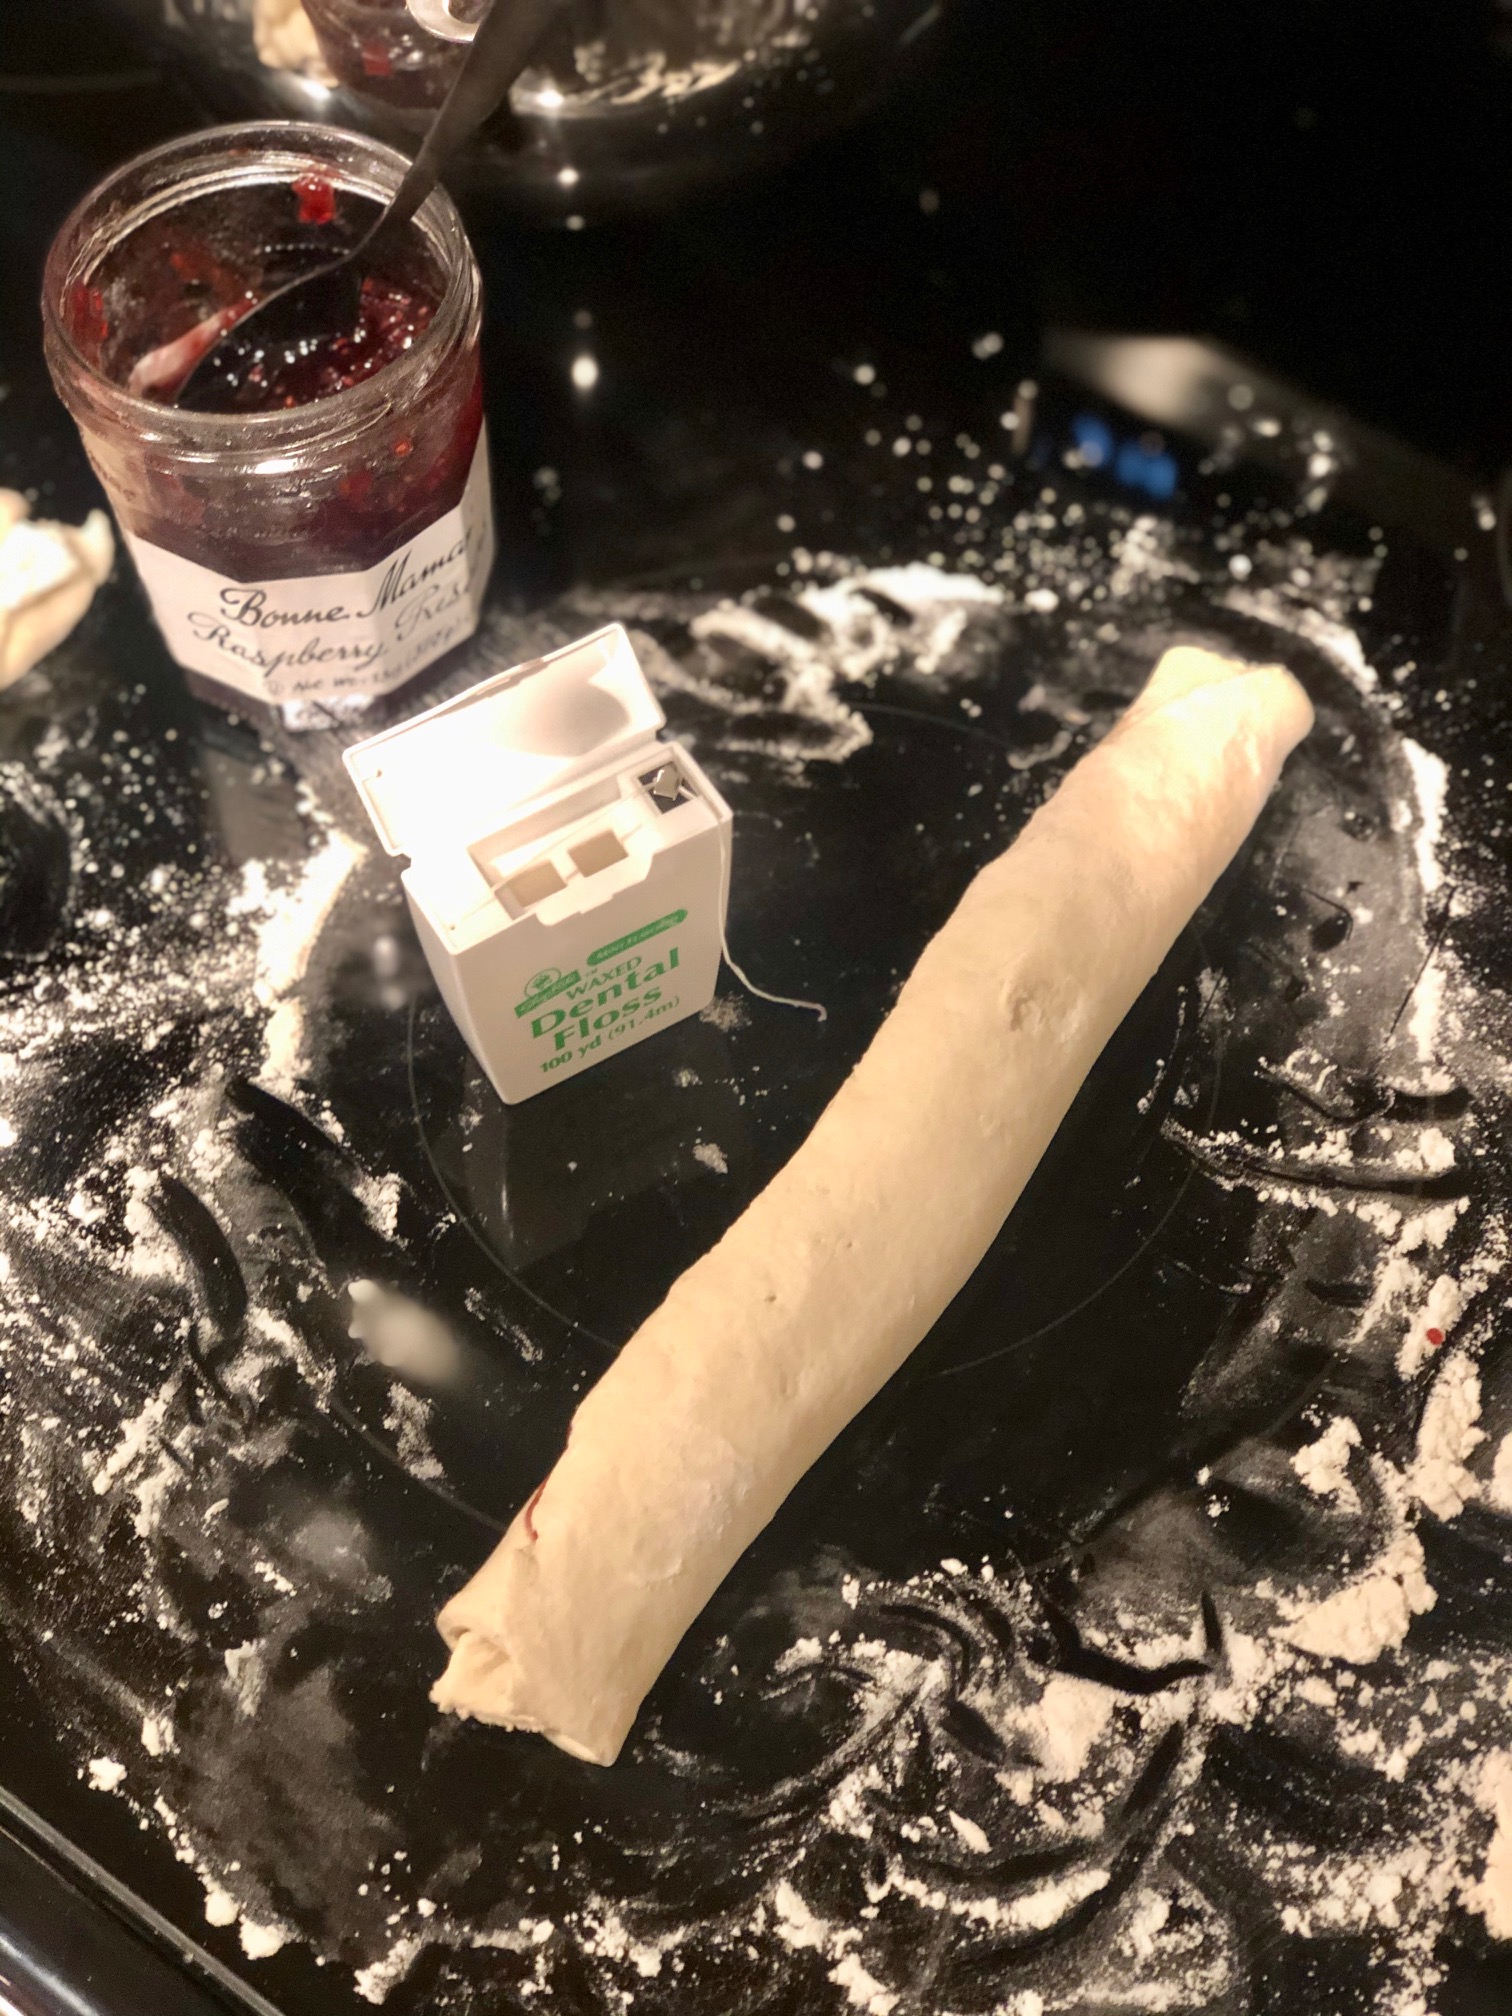 To make mini buns, you’re going to roll the long side. If you want to make regular sized buns, you’d roll the short side and have a larger bun. I love the mini’s because they’re poppable little snacks (and only end up being ~2 points per bun).
Once you have your dough rolled into a log, seam-side down, you’ll want to cut it with dental floss – yes, like the kind you floss your teeth with. Ideally, use an unflavored floss, but even if it’s minty, it shouldn’t affect the taste at all. To cut with the floss, you’ll want to finagle the floss under the log, then bring the floss together, causing the loaf to cut into perfect little swirls. I prefer this method to cutting, because the downward pressure of a knife will flatten the rolls and cause your jelly to ooze out.
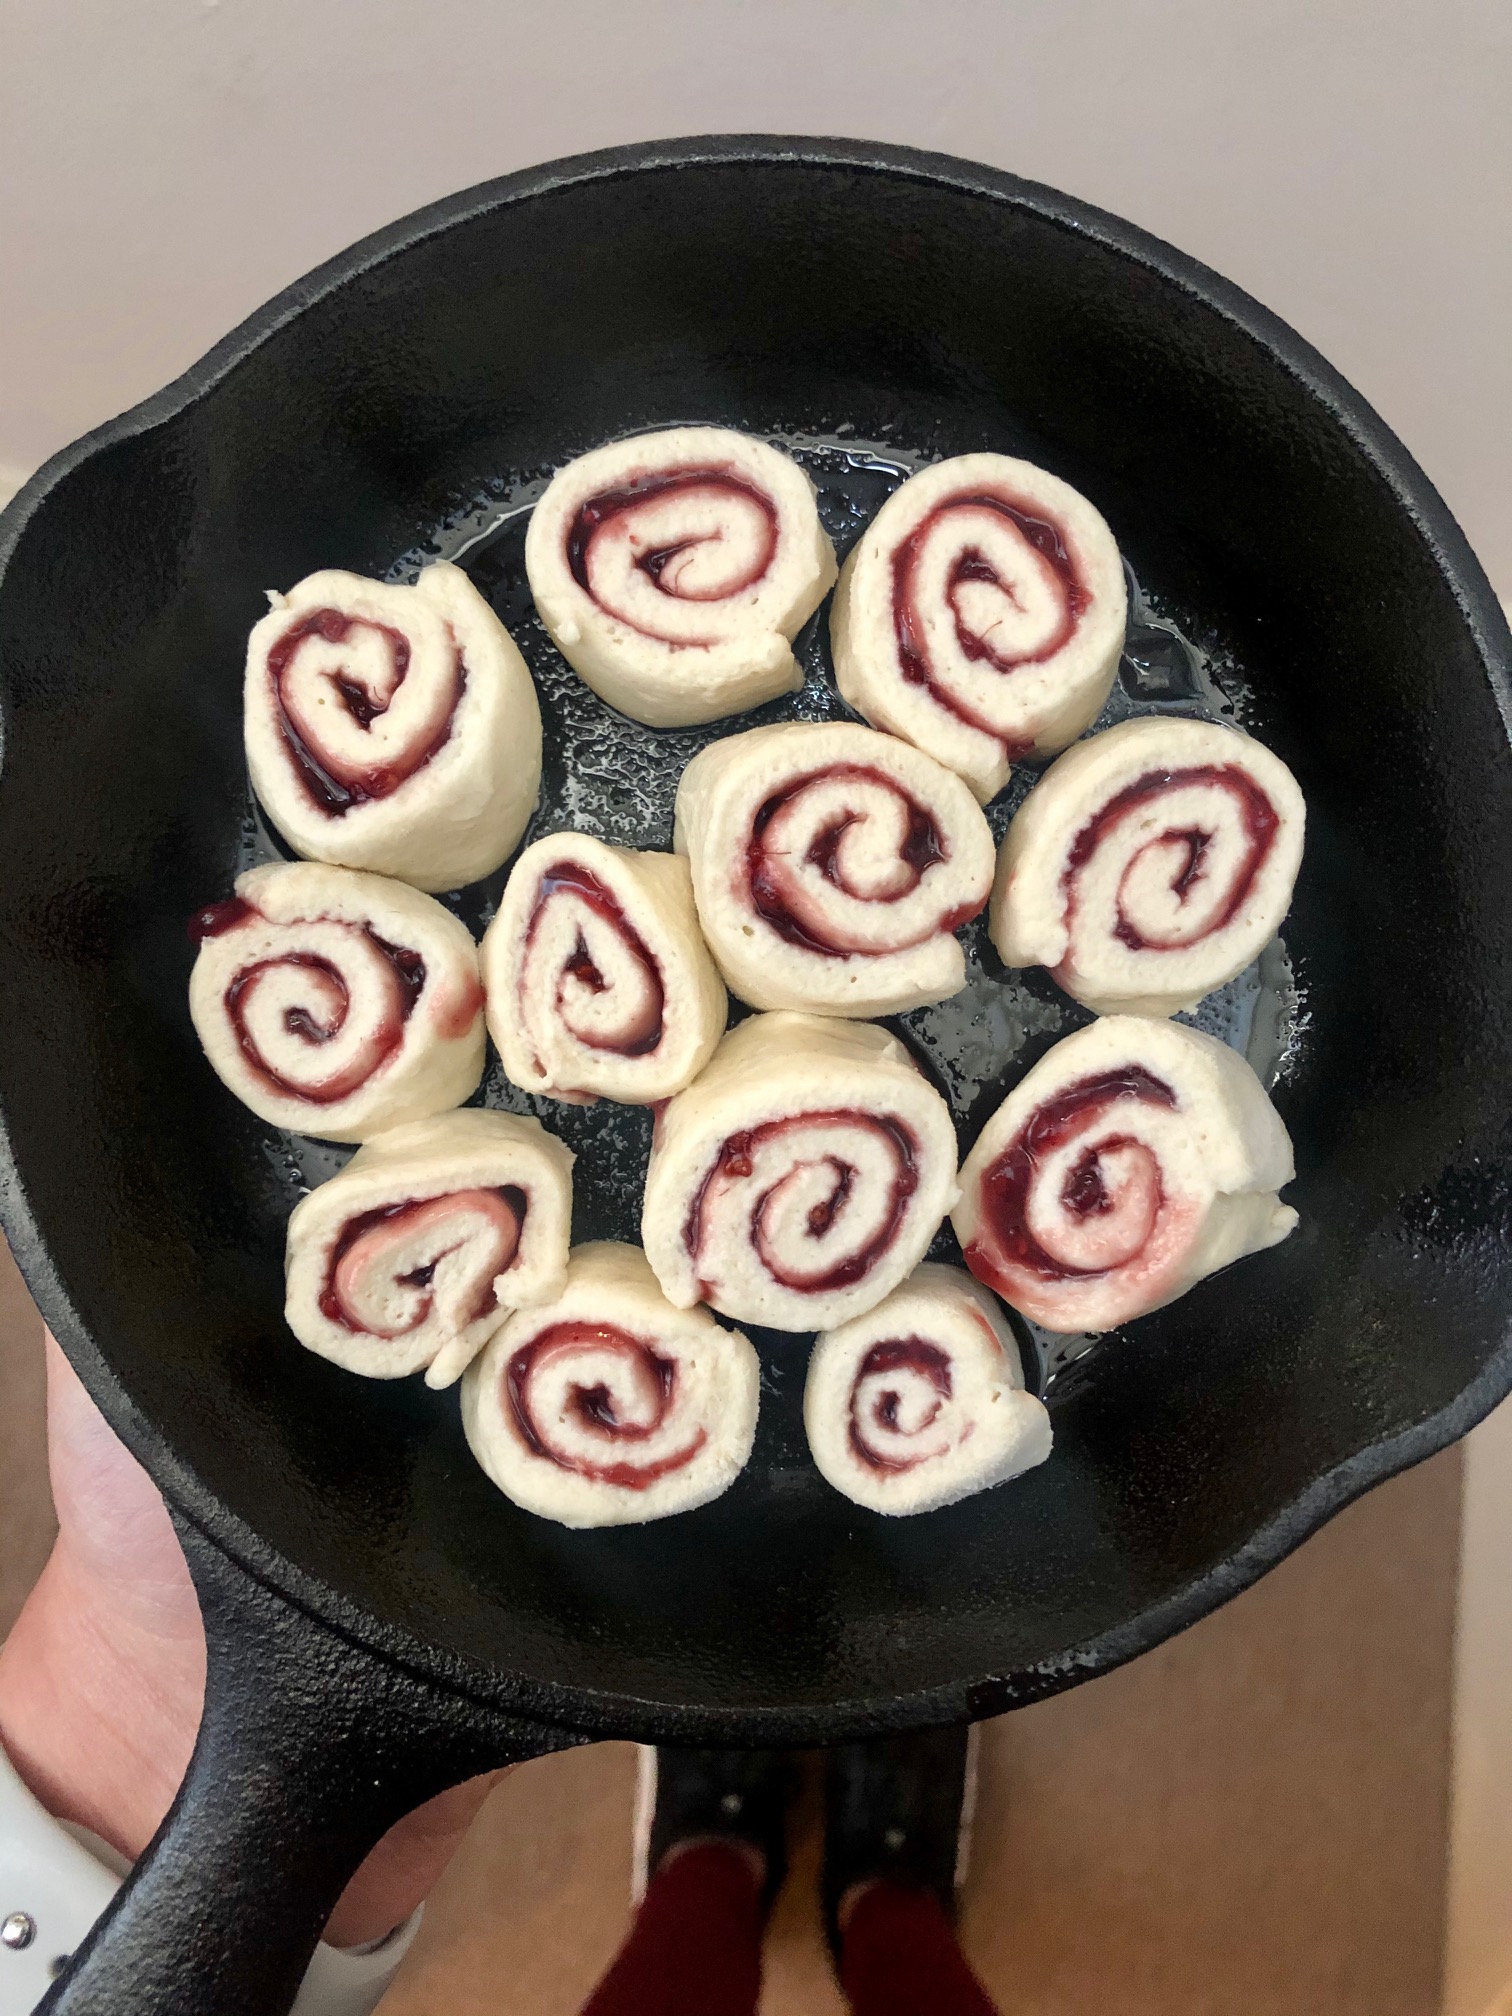 Once cut, arrange your rolls in a greased mini skillet (I use this one from Amazon). It’s okay if they’re not touching, as they’ll expand when they bake and fill the skillet out. If you don’t have a mini skillet but still want little buns, I’ve used a 9×5 loaf pan and had success as well. If you’re looking to make more of these, just double the recipe and then double your skillet/pan size accordingly.
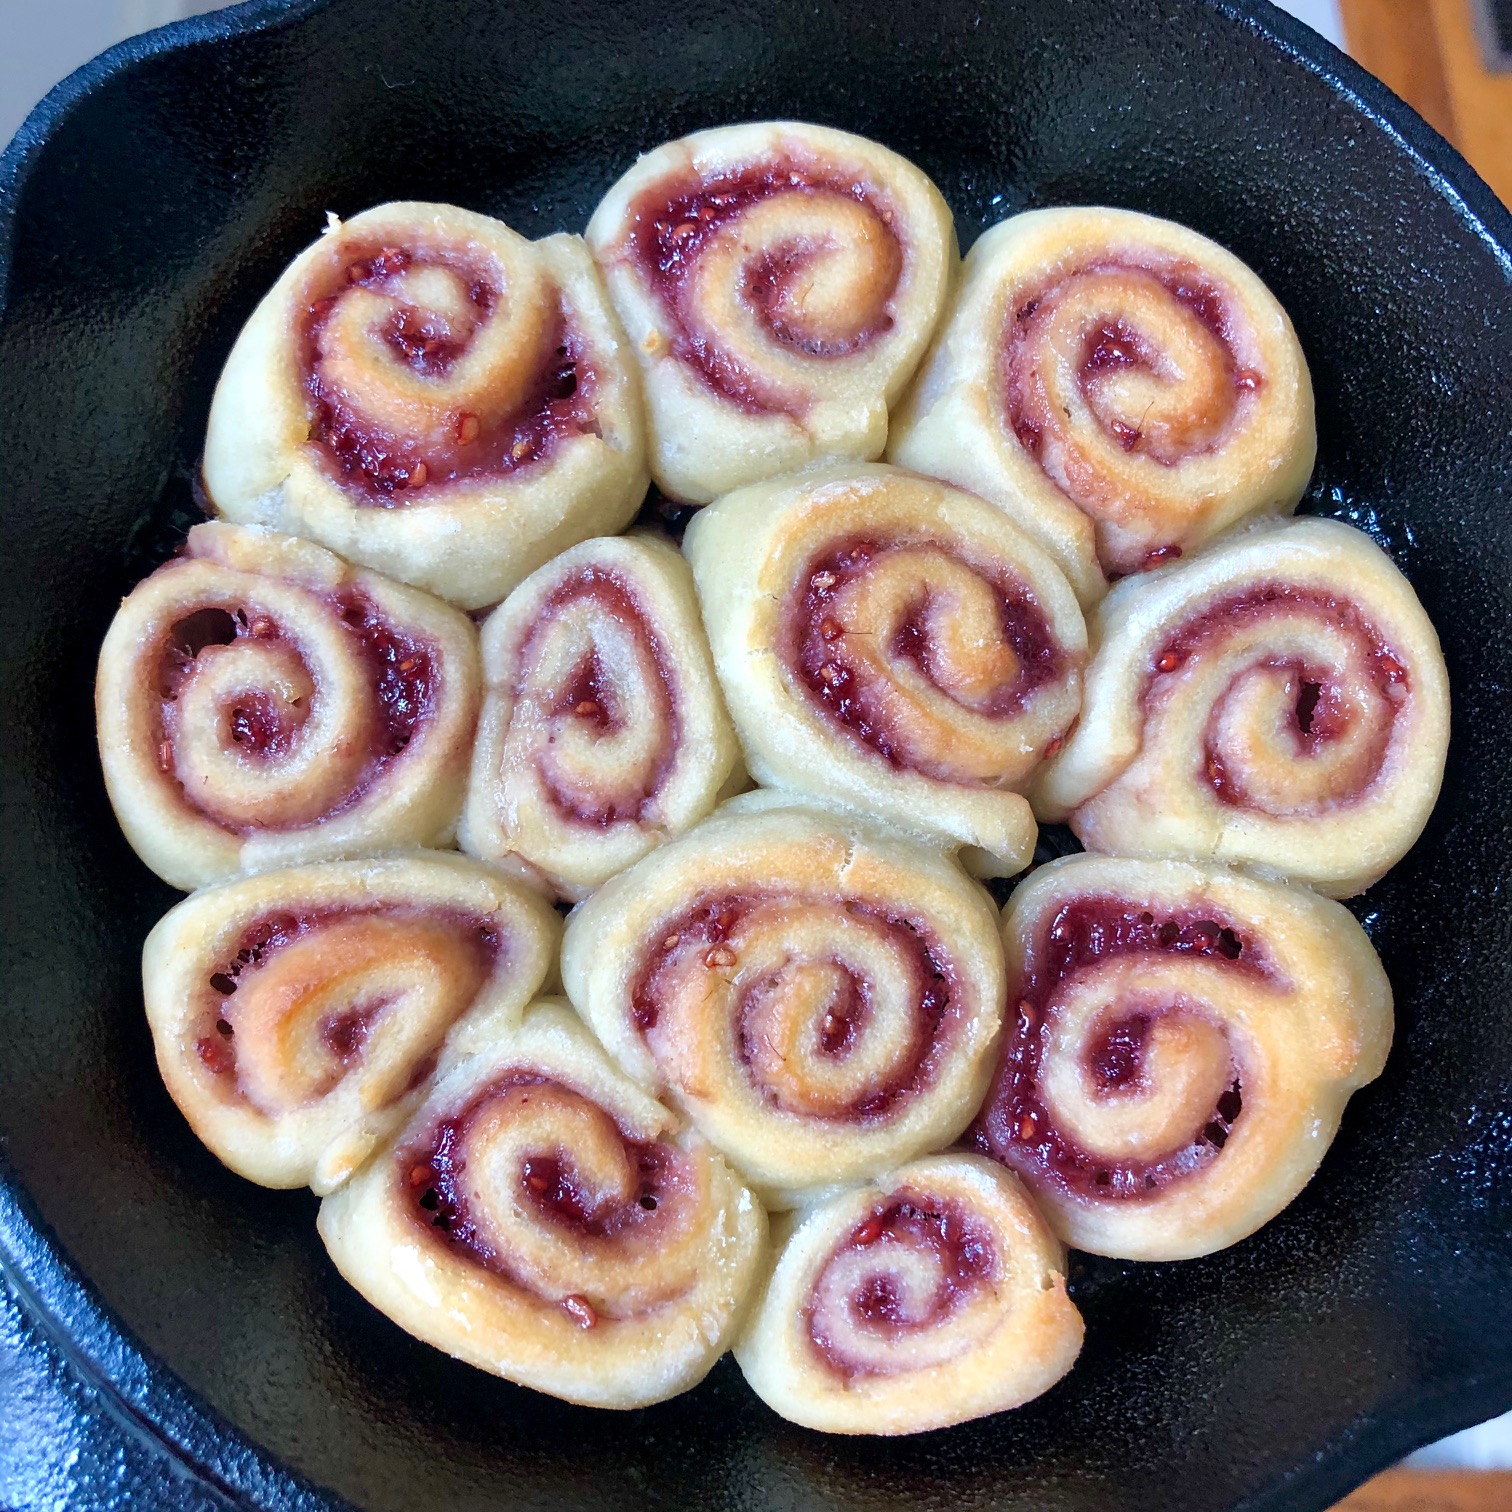
Bake the buns at 365 for 17-20 minutes, until they’re just lightly golden. They should expand and completely fill the mini skillet.
Let your buns cool for a few minutes while you ready your toppings!
Topping the buns
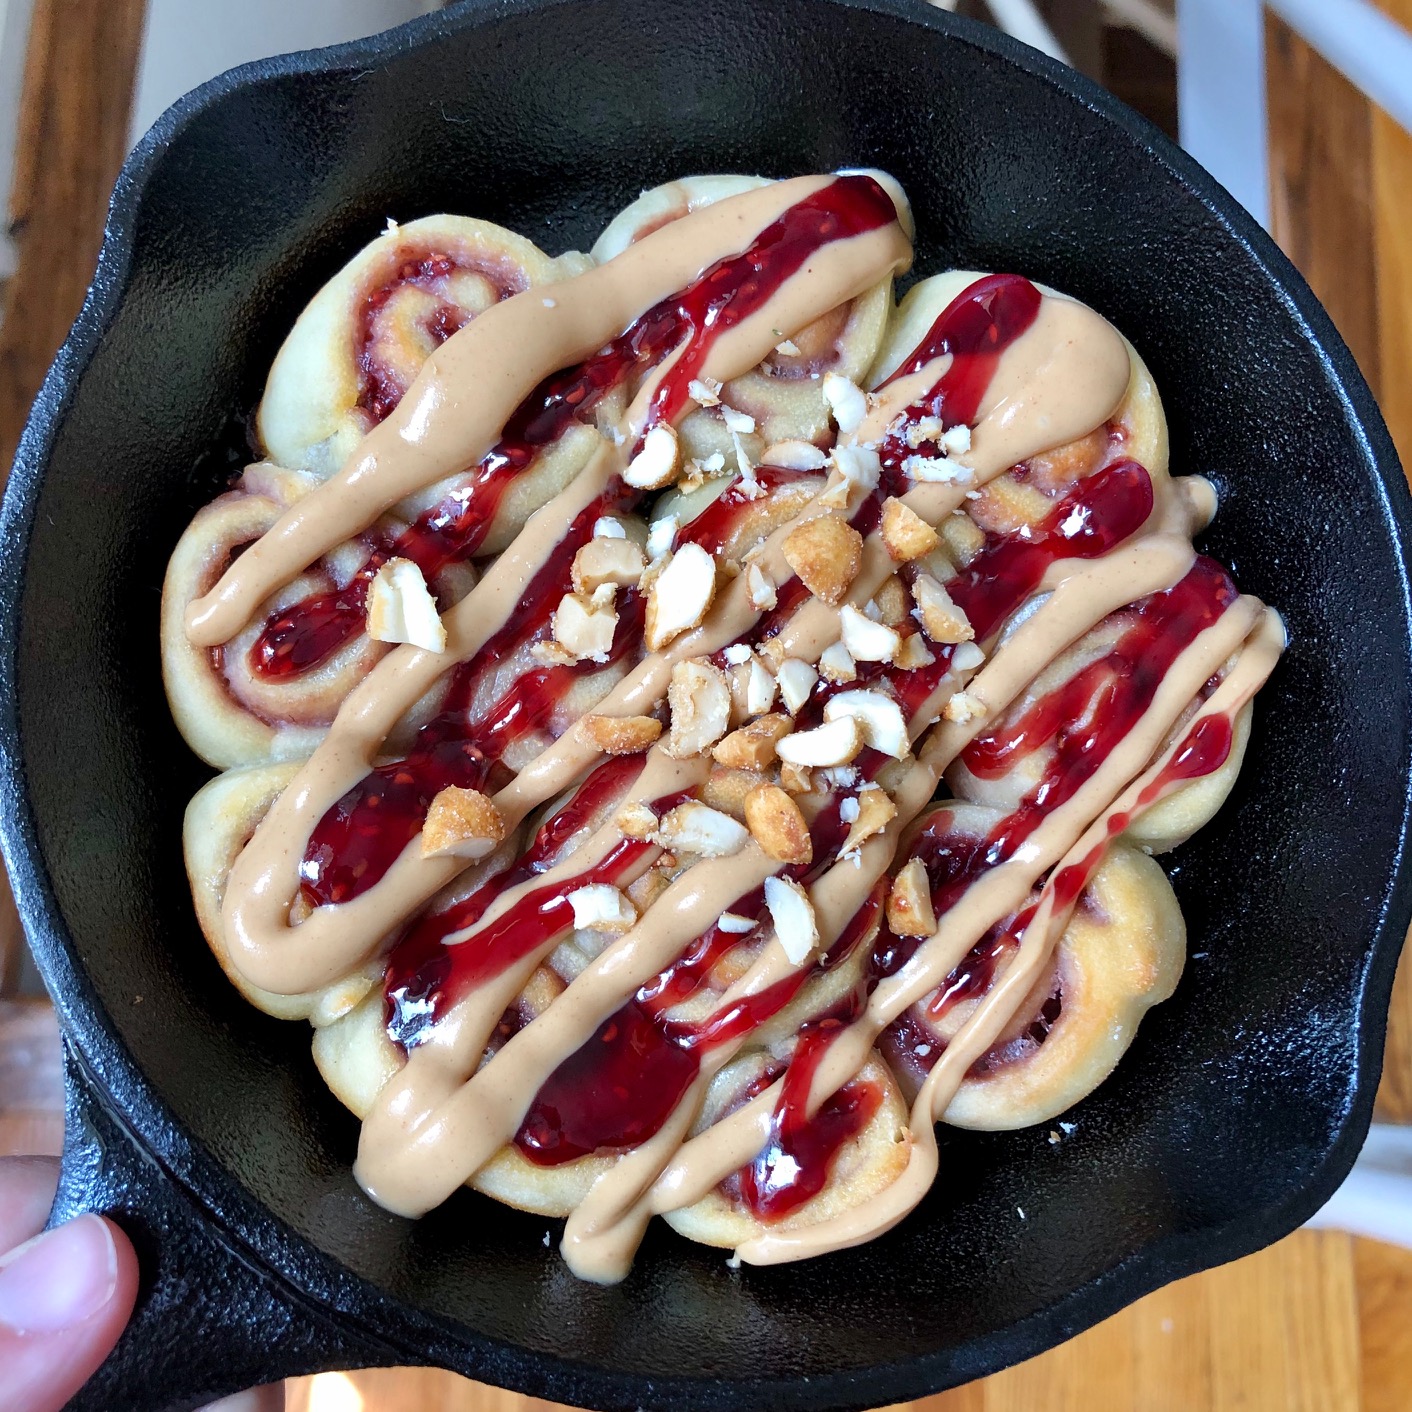
 To top these, you’ll want to use the same jam you used for the filling as well as some creamy peanut butter. To make them a little running, microwave the peanut butter and jelly in 10 second increments so that they become runny. Then, using a piping bag or a plastic bag with the tip cut off, drizzle the buns with peanut butter and then jelly. I topped mine with some crushed honey roasted peanuts as well for a little crunch.
Then, it’s as easy as pull apart and eat! I typically store these in the fridge for up to 2 days (that’s assuming there’s any left…)

PB & J Mini Buns
Equipment
- Mixing Bowls
- Stand Mixer
- 9×5 Loaf Pan
- Oven
Ingredients
- 1 cup Nonfat Greek Yogurt
- 1 cup self rising flour or 1 cup regular flour + 1.5 tsp baking powder + .5 tsp salt
- 2-4 tbsp jam of choice for filling
- 2 tbsp peanut butter and 1 tbsp jam for topping
- Crushed peanuts for topping optional
Instructions
- Preheat oven to 365F
- Combine yogurt and self rising flour and stir/knead until you have a uniform dough ball
- Lightly flour a clean surface and roll your dough ball out to 1/4 inch thickness with a rolling pin
- Cut the dough into a rectangle for smoother edges
- Spread jam onto dough, leaving roughly 1/4 inch on all sides
- Roll the dough tightly and (optional) pop into the fridge for 30 minutes to firm the dough up a bit before cutting
- To cut, I recommend using unflavored dental floss and cutting from under the dough like this. You can also carefully cut with a knife, but you’ll likely need to re-shape your buns a bit.
- Arrange buns in a greased pan (9×5 loaf pan or mini skillet for a half batch, 8×8 pan or 8 inch skillet for a full batch of minis) so that they're slightly touching
- Bake for 17-20 minutes (keep an eye on them), until they’re just golden brown
- Allow to cool for 5 minutes while you prepare your toppings. To top with peanut butter and jelly, microwave in intervals of 10 seconds so it’s a bit runnier and easier to drizzle.
- Using a piping bag or plastic bag with the tip cut off, drizzle peanut butter and then jelly on slightly cooled buns. Top with crushed peanuts and ENJOY!


1 thought on “PB & J Mini Buns”
Pingback: Healthier Funfetti Nutella Cinnamon Buns - Food By The Gram